Deta 6914HA Series III - Reprogrammed to Zero Cloud plus MQTT
2026.05.11
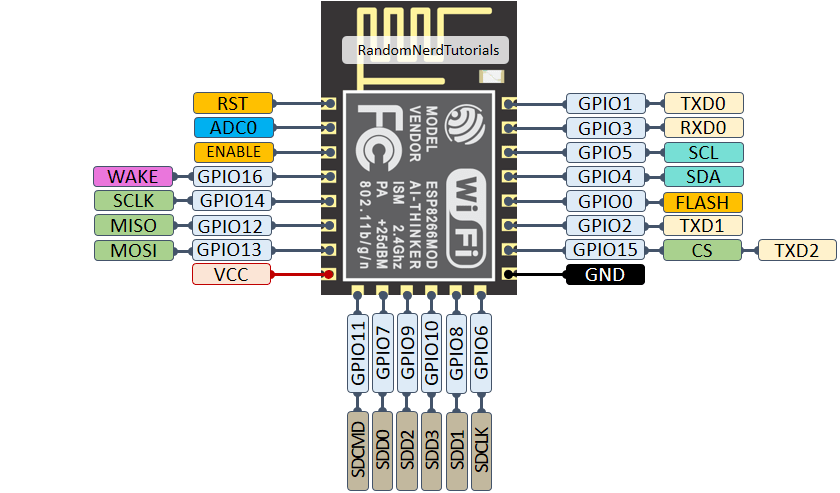
The Deta 6914HA has been around for quite some time. Over that time there have been a number of CPU changes. The original units had the old ESP8266 or one of its derivates inside it as it's brain. As Tasmota hackerz will know, that original firmware was pretty easy to replace and update.
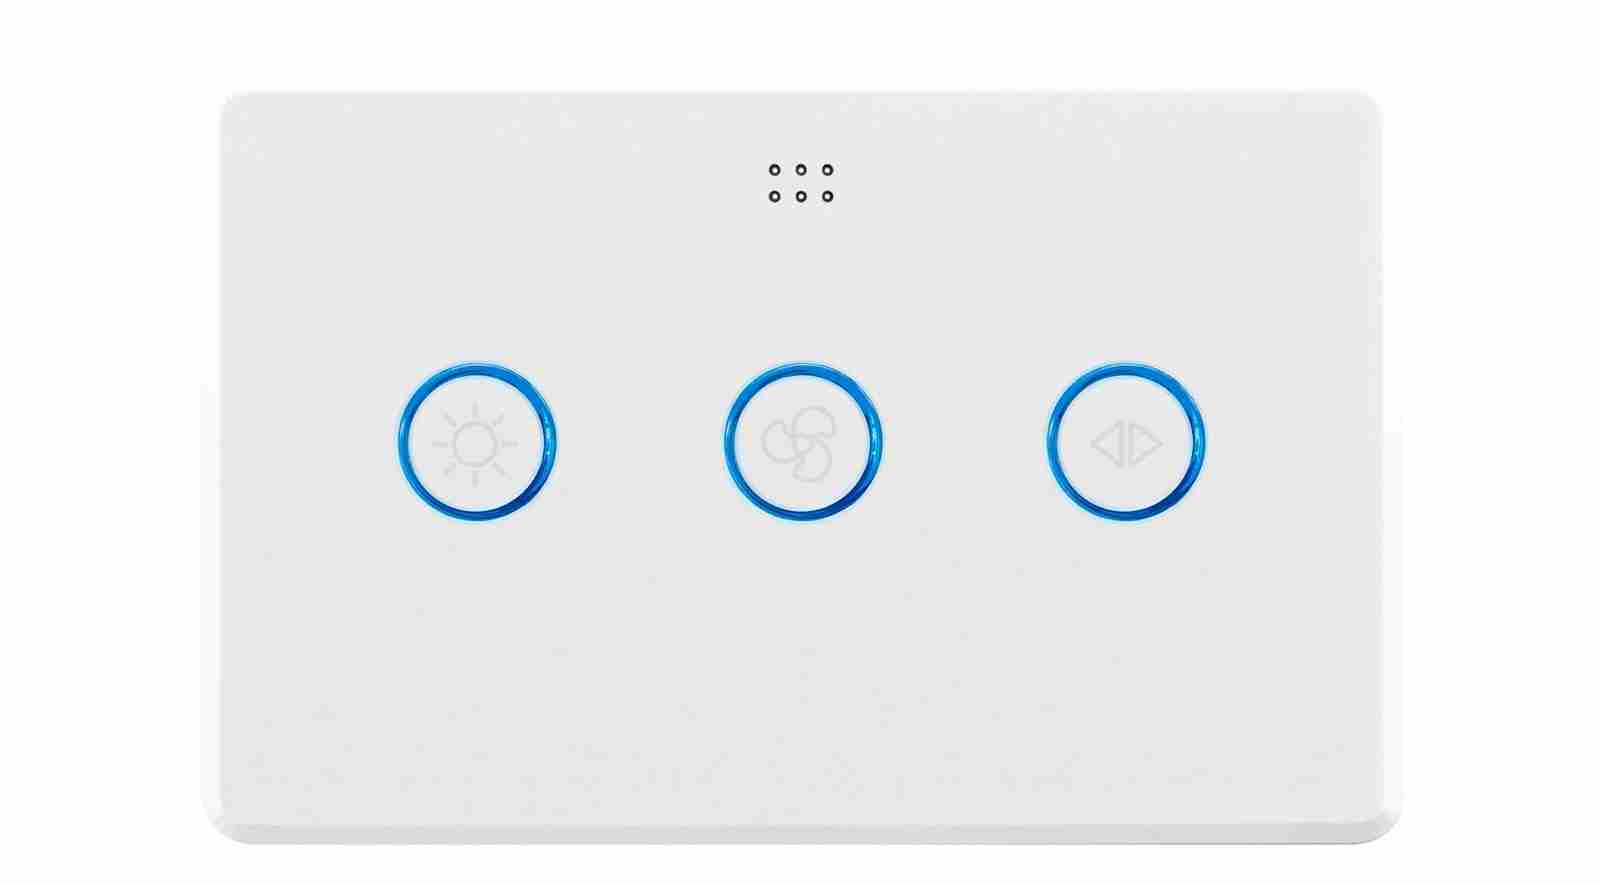
Deta 6914HA Series III Light and Fan Controller
Tuya, the original software providers, took action in the Series II units to protect their interests. They replaced the CPUs and removed the ability to do OTA updates pretty much across their entire range of products along with minor pin changes effecting the PCBs.
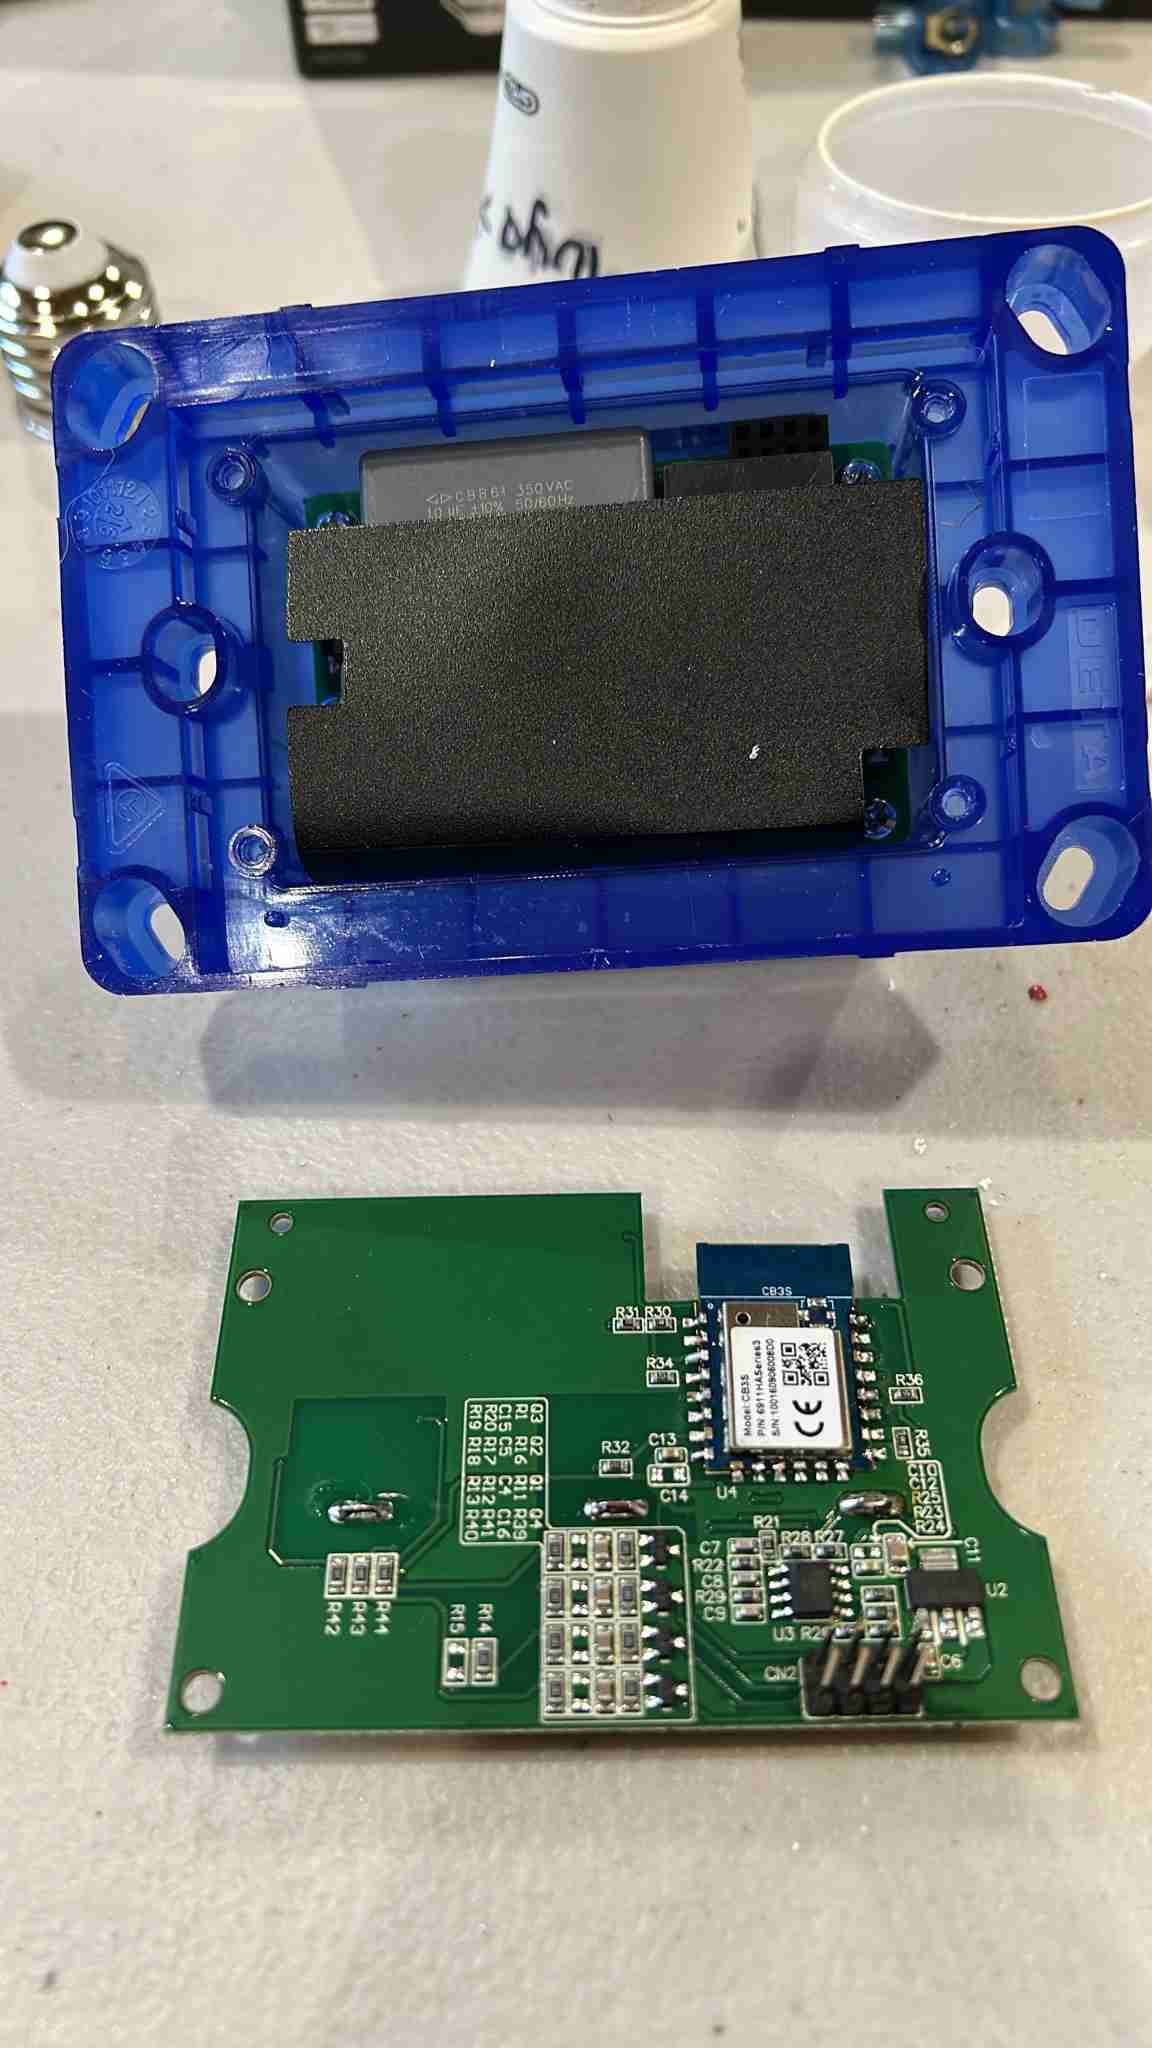
Finally in the series III units the WB3S modules were replaced with the newer faster more energy efficient BLE equipped CB3S units. CB3S using the Beken BK7231N and the WB3S using the Beken BK7231T. At the same time there were even more pin routing changes which rendered all previous documentation on hacking somewhat redundant. That's where this piece of work comes in, building on all the good work that has come before it. Also we now have the power of AI to assist and speed up the software re-engineering process as well.
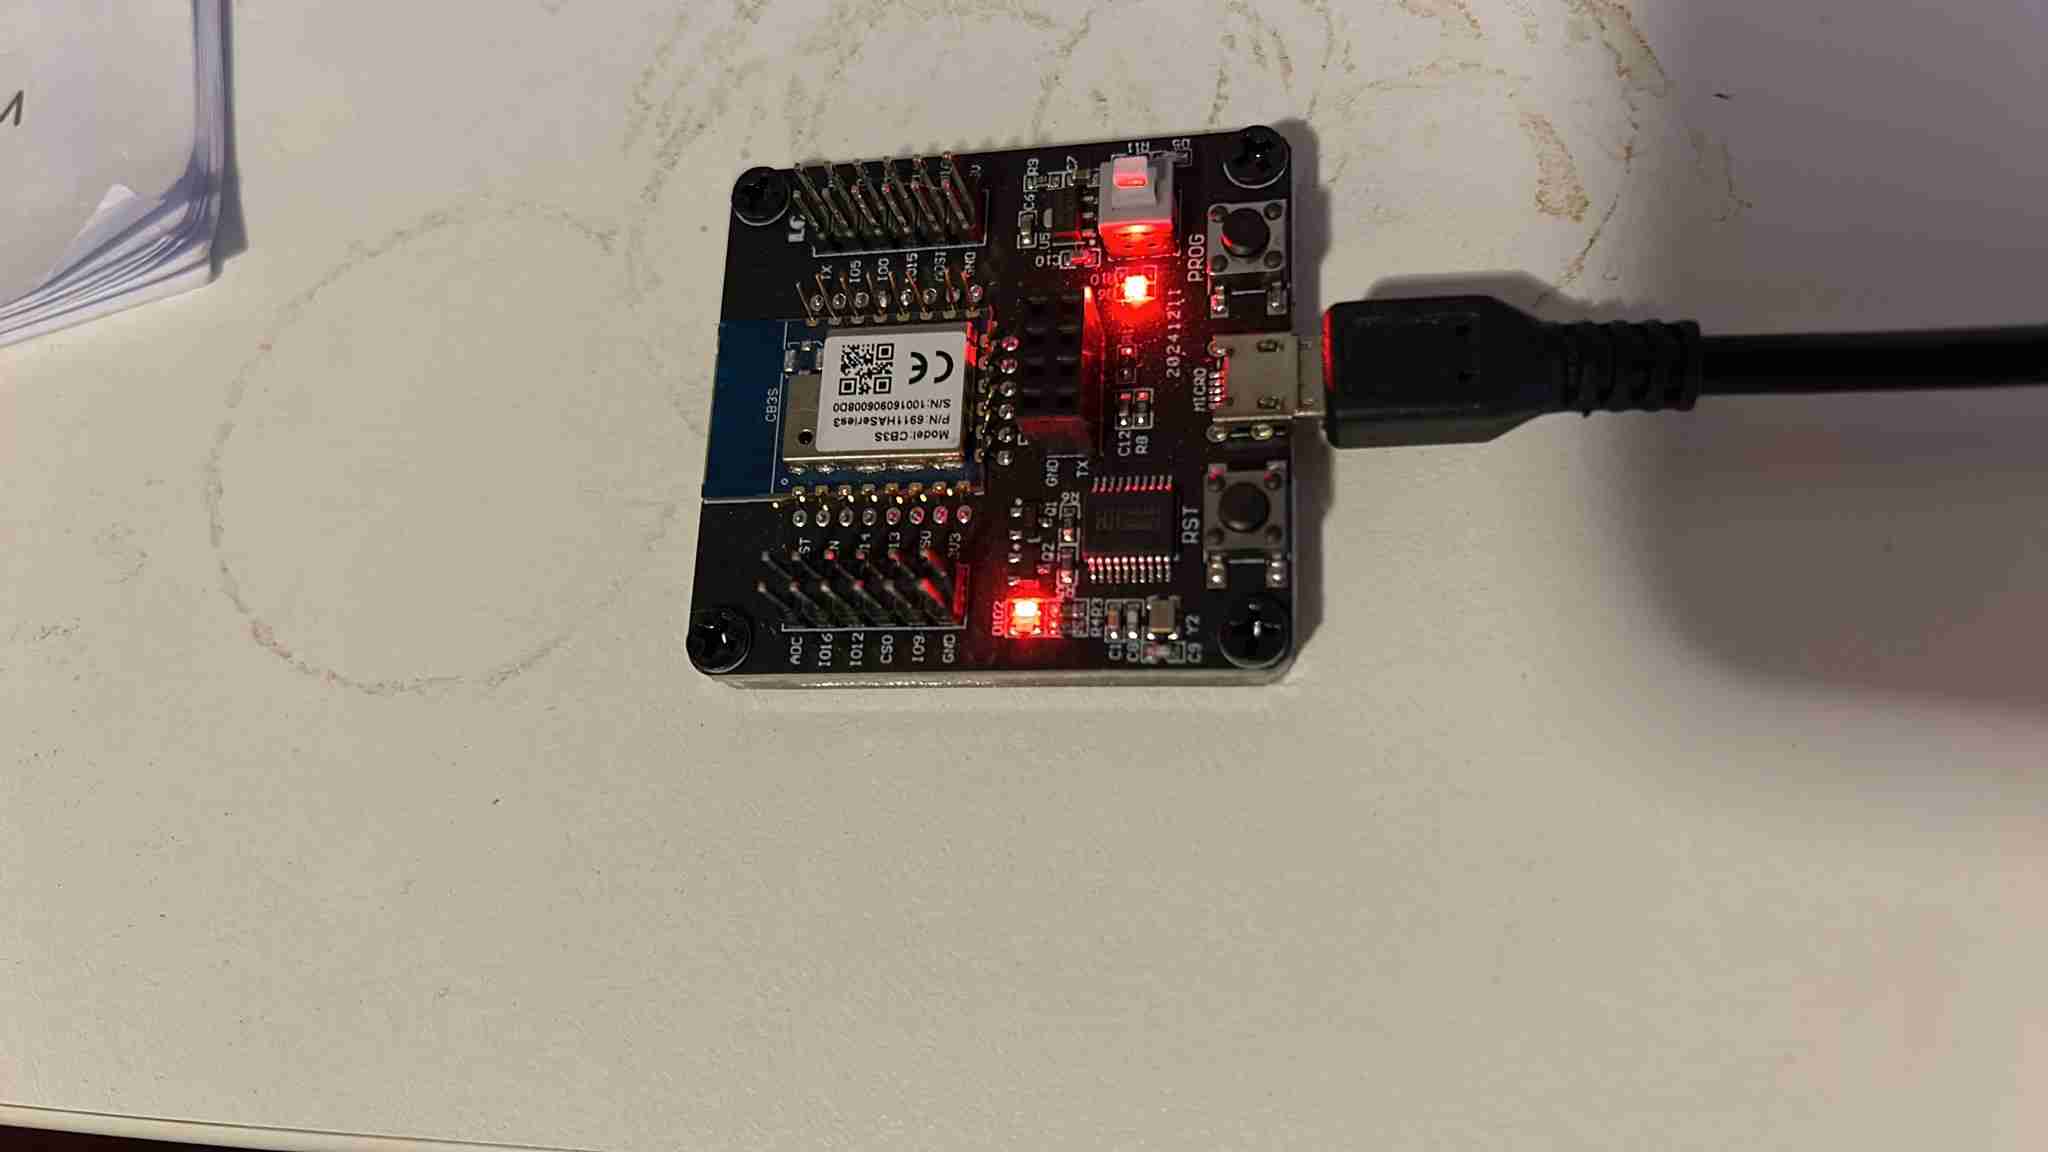
Conveniently the Turya CB3S is pin compatible with the original ESP derivatives.
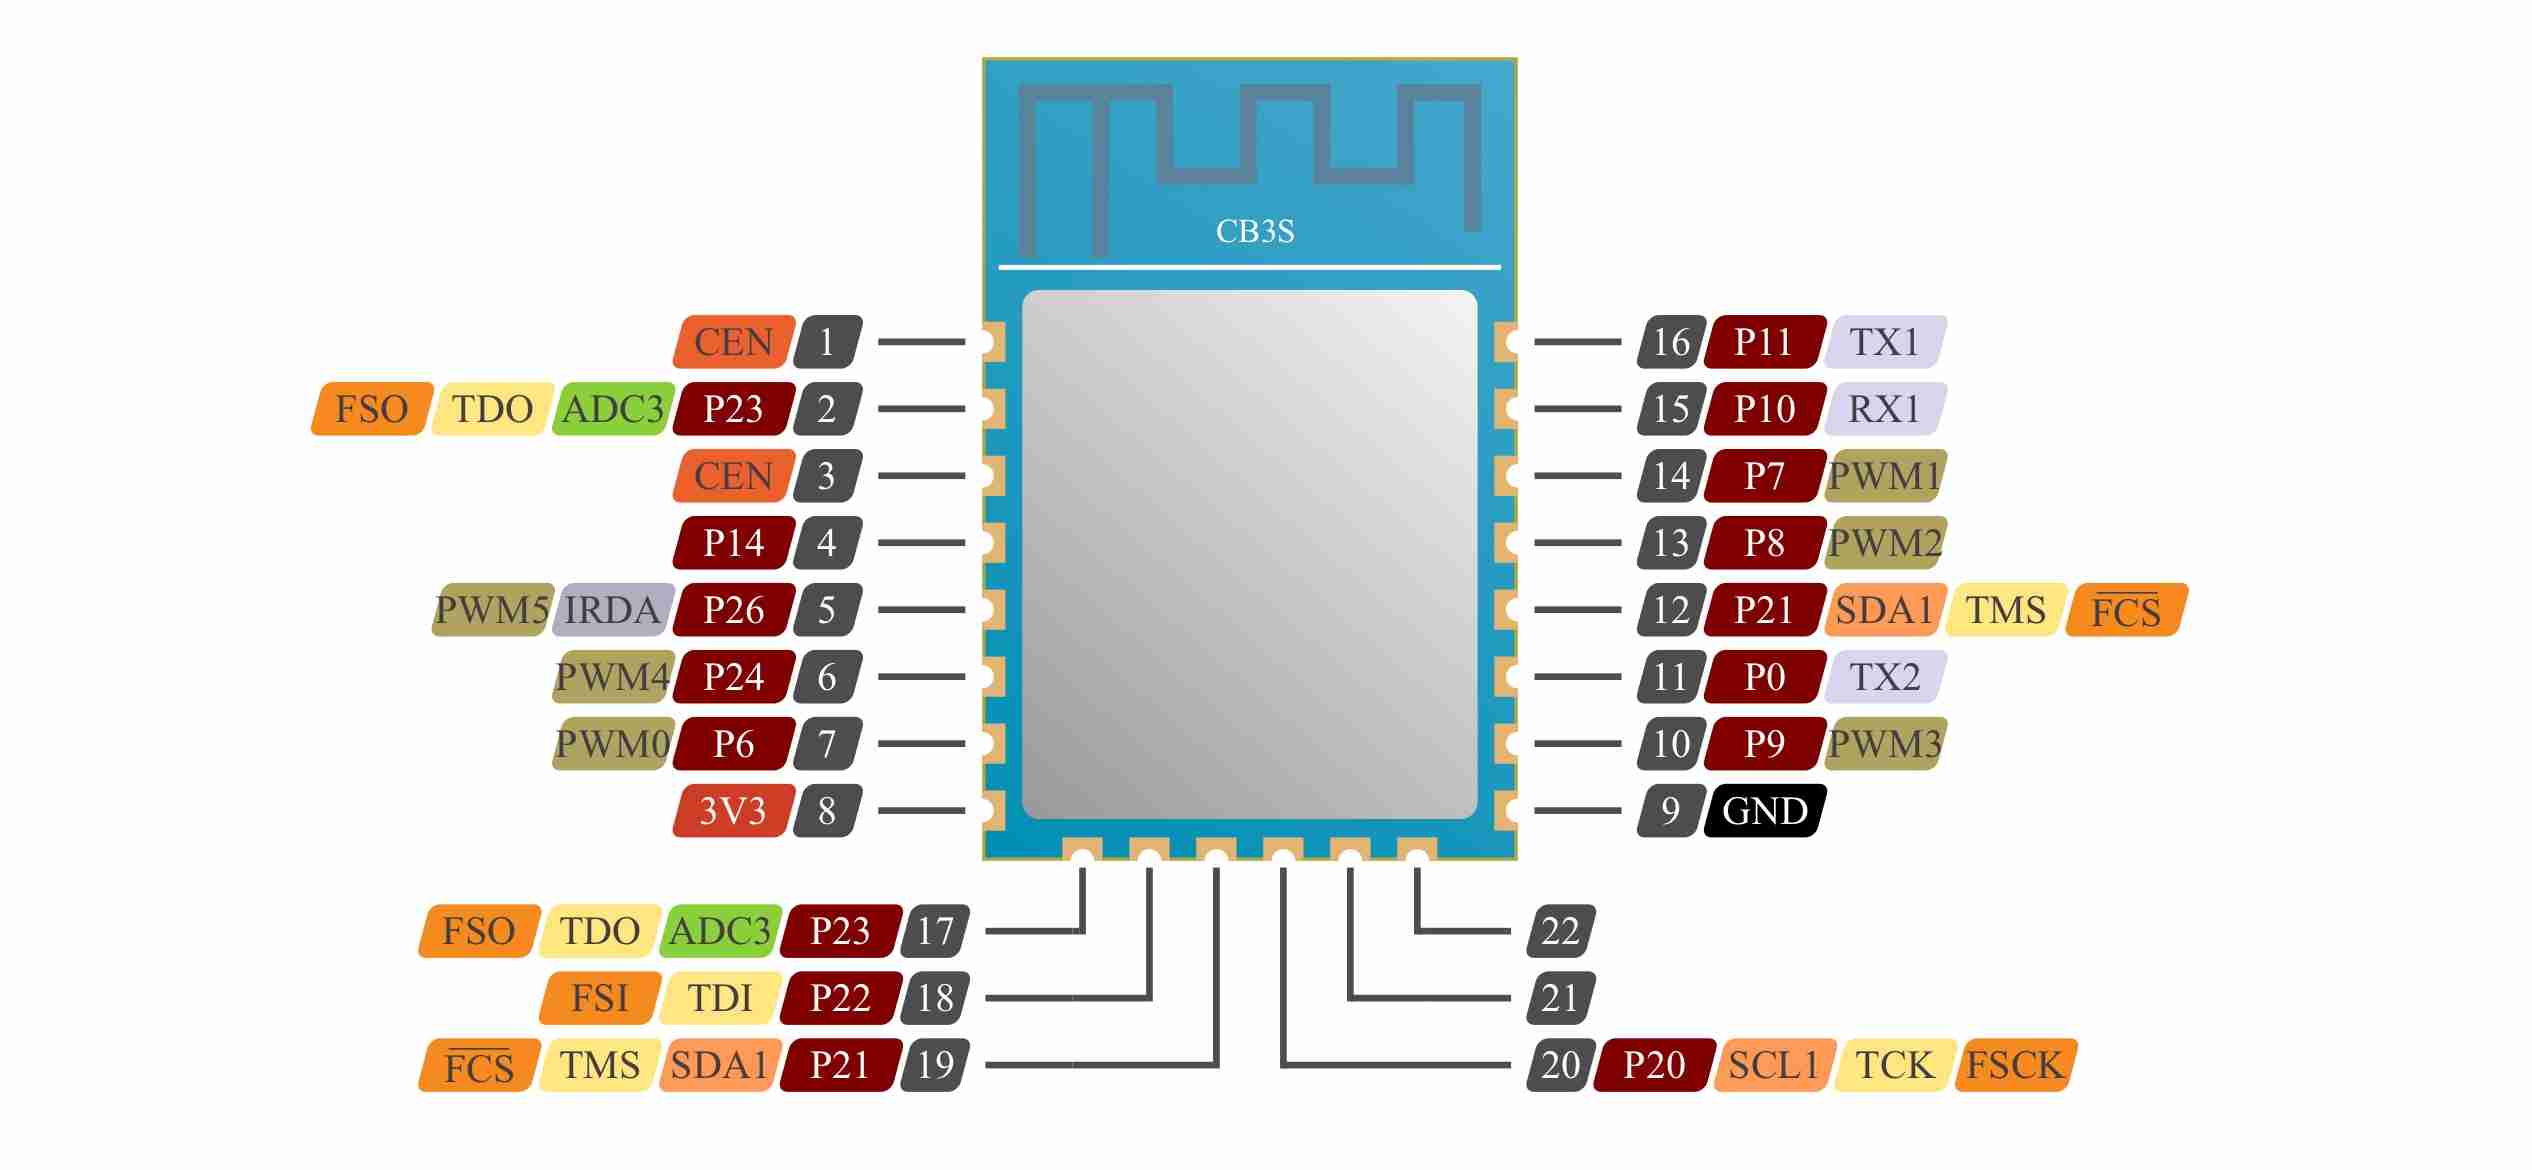
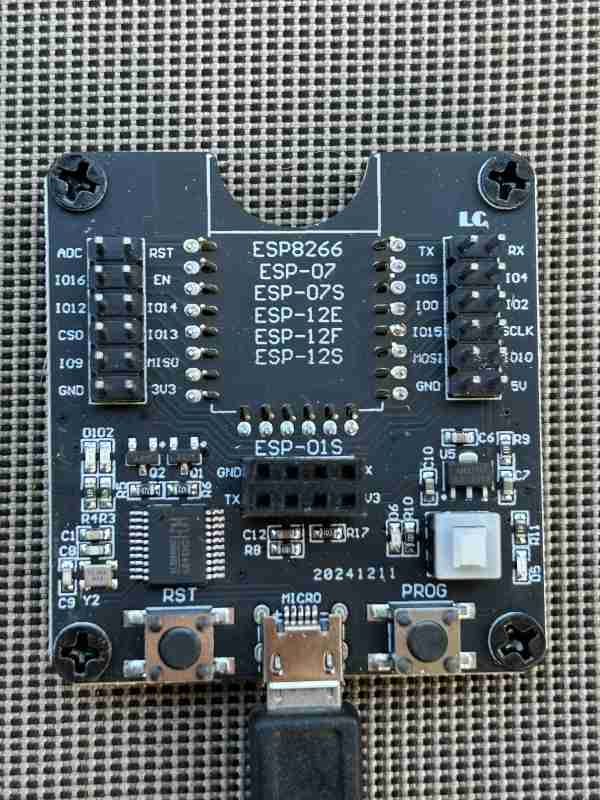
In fact the two modules are so compatible that the old programmer was again pressed in to service. The burning software used is ltchiptool specifically designed for the Tuya chips. To this author's amazement it just upped and ran. Job done!

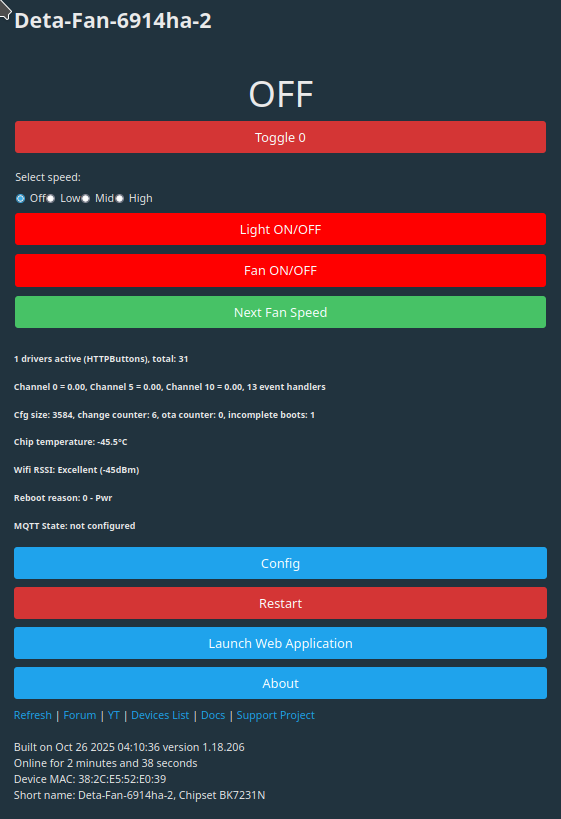
Configuration:
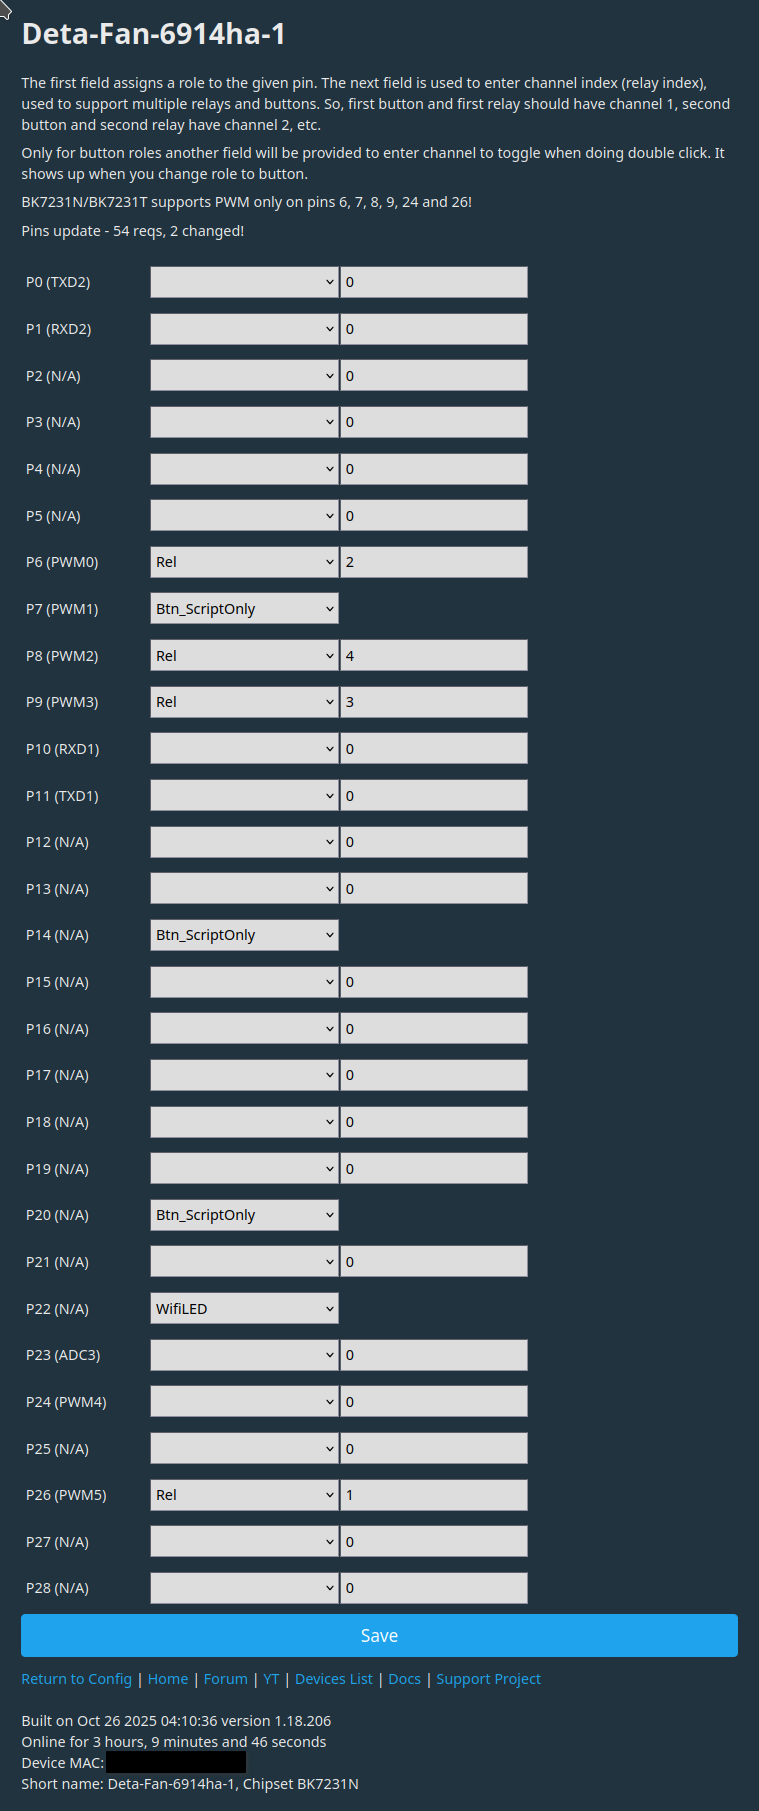
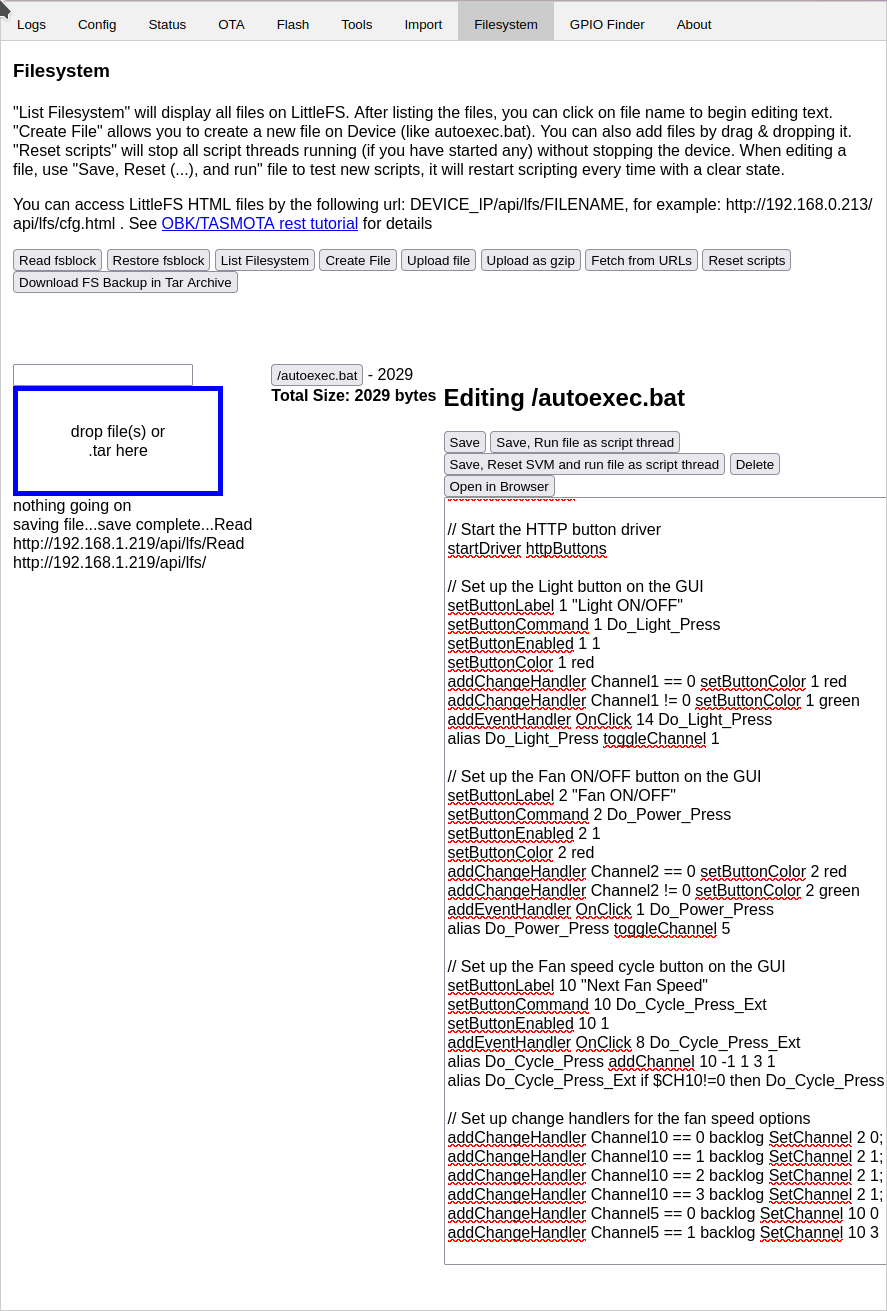
Code for AUTOEXEC.BAT
|
// Display the labels for each channel on the GUI
// Hide the raw relay channel buttons from the GUI
// Start the HTTP button driver
// Set up the Light button on the GUI
// Set up the Fan ON/OFF button on the GUI
// Set up the Fan speed cycle button on the GUI
// Set up change handlers for the fan speed options
|
References:
https://www.elektroda.com/rtvforum/topic3961225.html#
https://www.elektroda.com/rtvforum/topic3952371.html#20405650