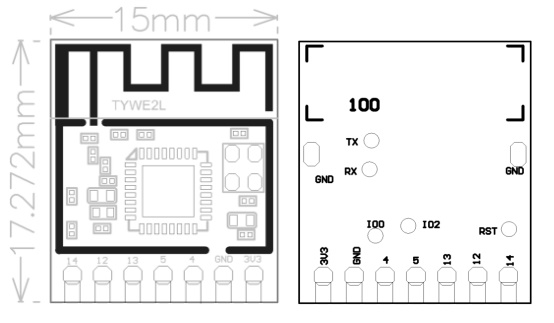
Genio I002741 - Re-flashed

{"NAME":"GenioDLightRGB","GPIO":[0,0,0,0,0,0,0,0,4032,0,4064,0,0,0],"FLAG":0,"BASE":18}
SetOption settings
- Set TZ:
Backlog TimeZone +11; timeDST 1,1,10,1,2,660; timeSTD 1,1,4,1,2,600 - Discoverabiliy
SetOption19 1 - Swap Red and Green
SetOption37 24 - WiFi - choose strongest on reboot:
SetOption56 On Set color on boot and enable:
Rule1 on power1#boot DO BACKLOG color #0000008080; SetOption19 1; SetOption19 0 ENDON
Rule1 1
Required Equipment
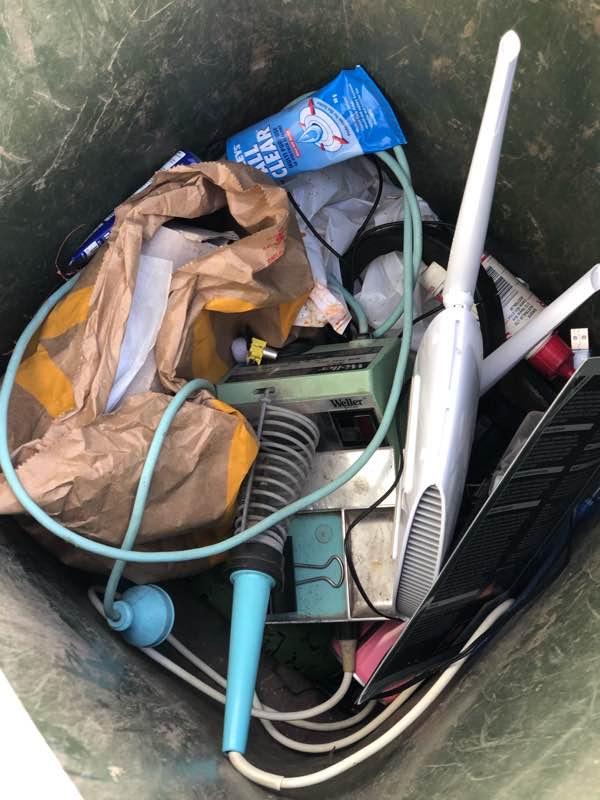
Before starting, this is what you must do with your current old soldering iron:
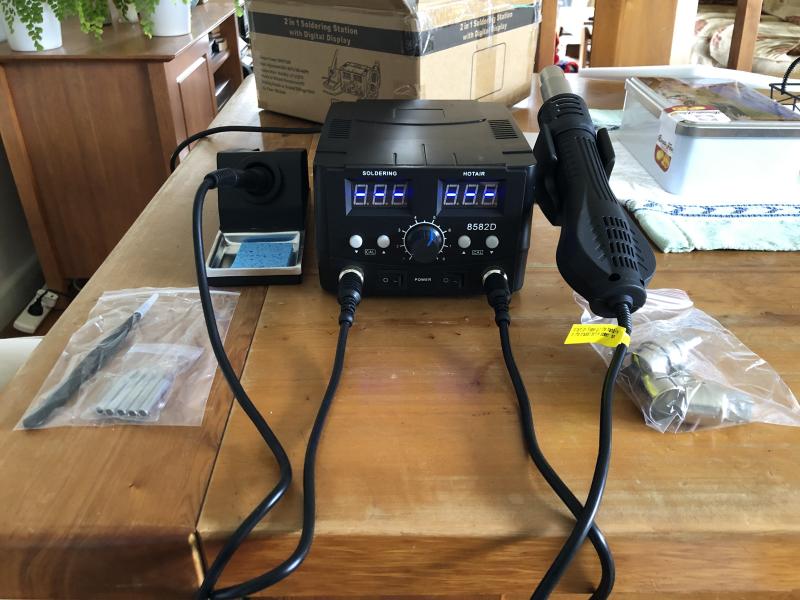
Spend a minimal amount of cash on something like:
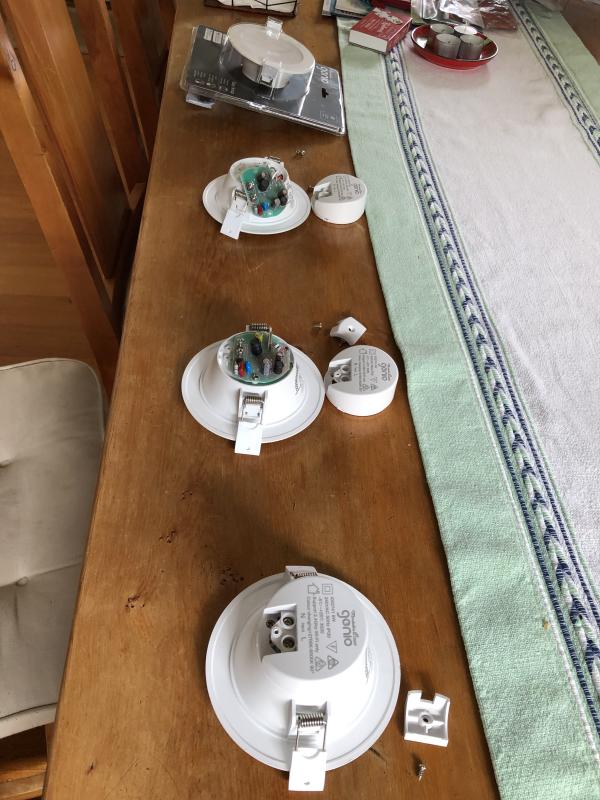
Disassembly (Model 1 - for want of a better name)
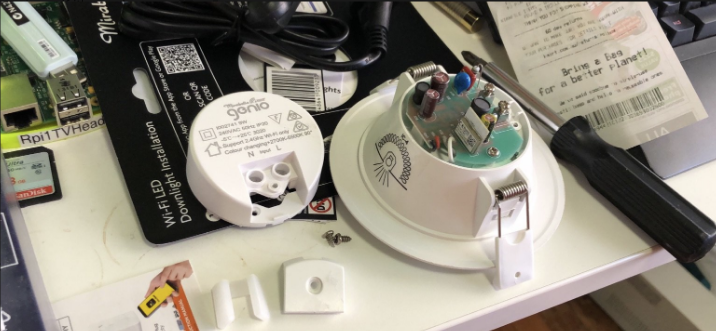
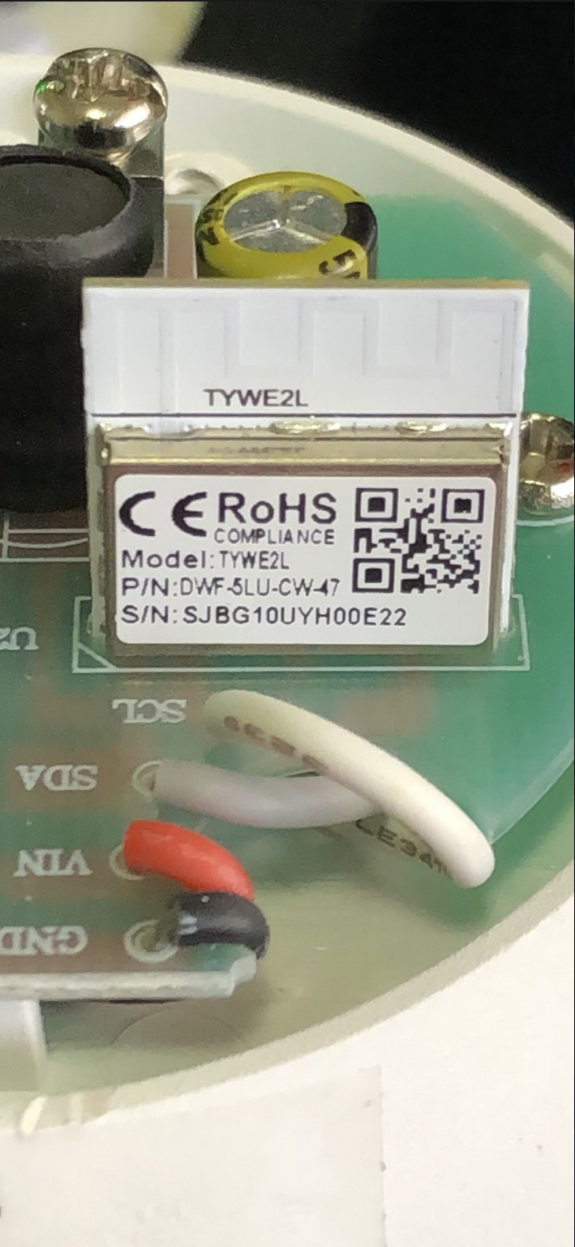
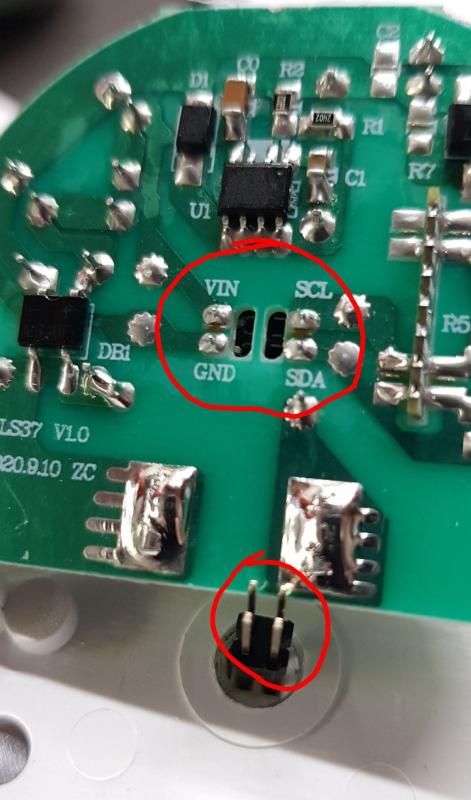
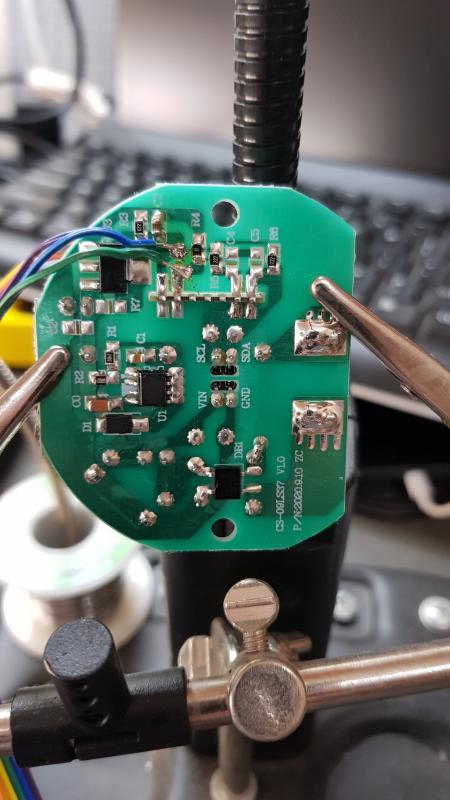
Unlike the 1st unit this one has many pins left unsoldered
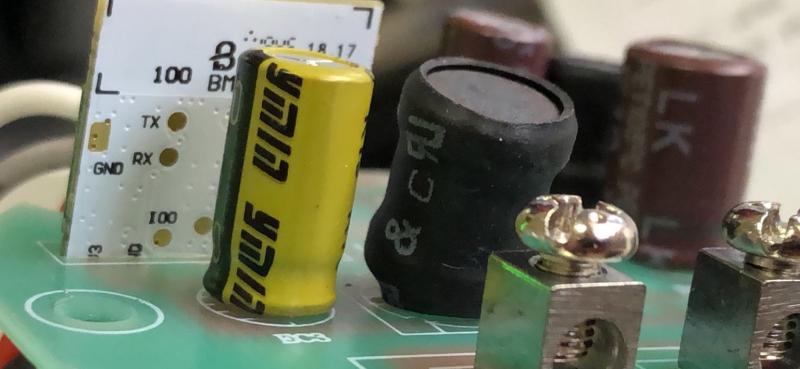
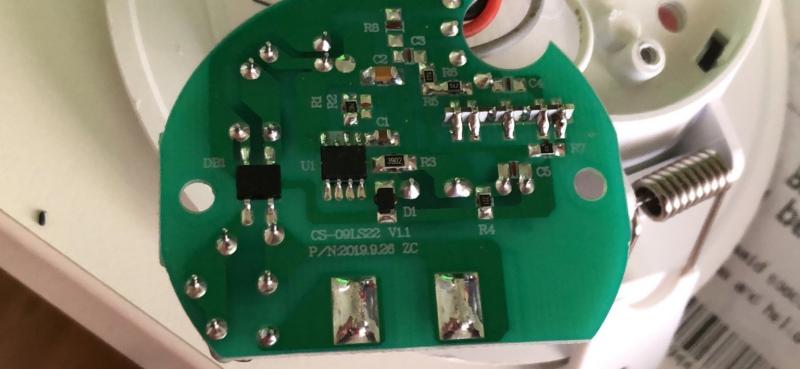
Disassembly (Model 2 - Thanks go to Greg for these pics)
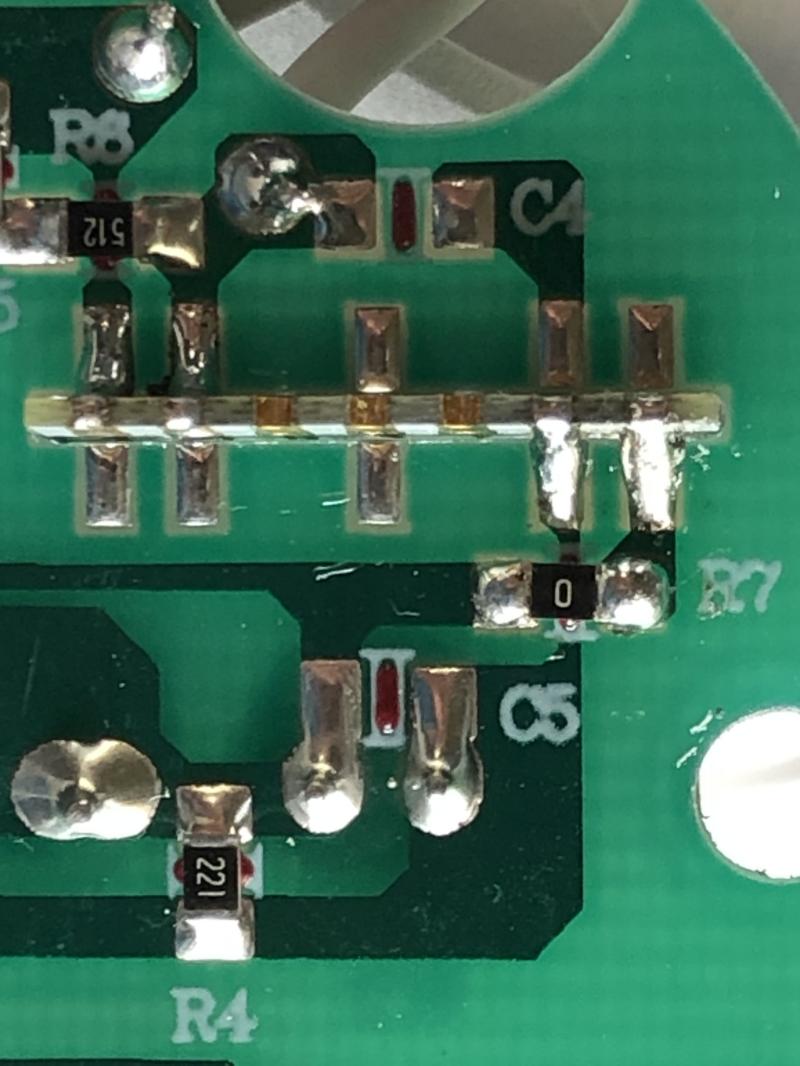
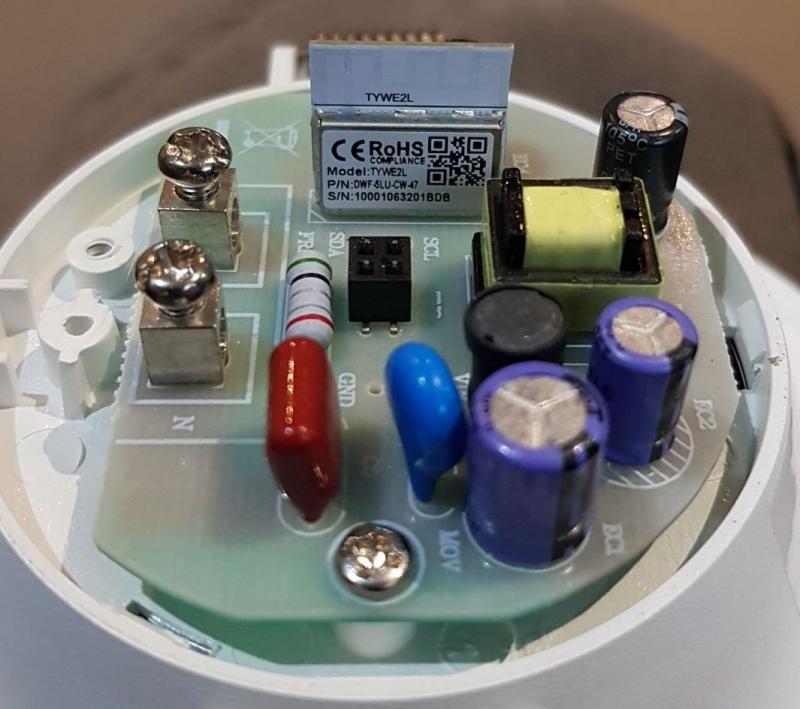
It's pretty clear that without removing EC4 it's impossible to solder wires on to the necessary points of the TYWE2L for the reflash.

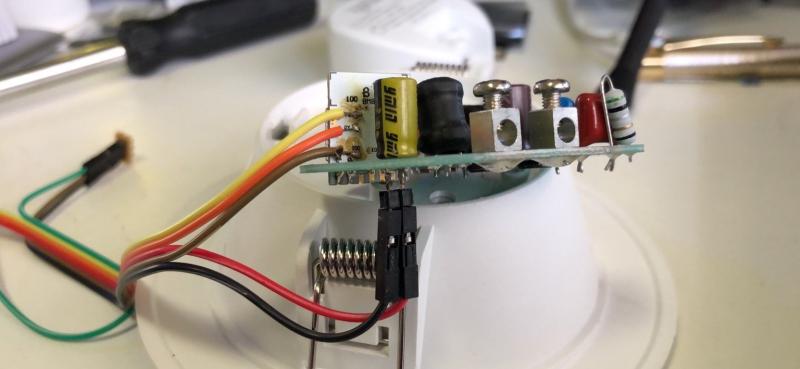
No more wires in to the led chamber. Much cleaner.
Clearly EC4 has to be removed and replaced, unlike previous model 1.
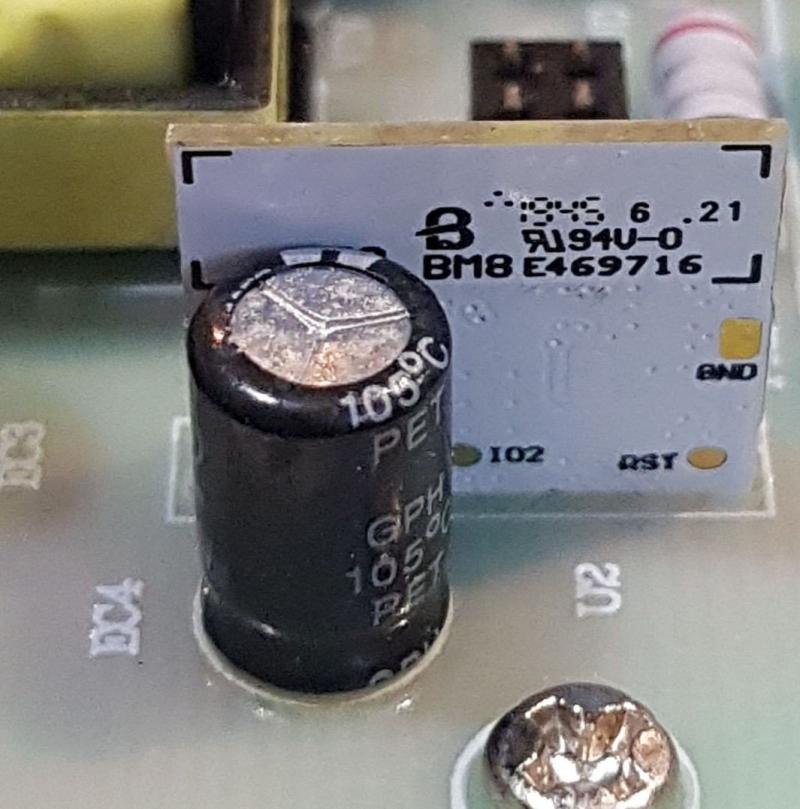
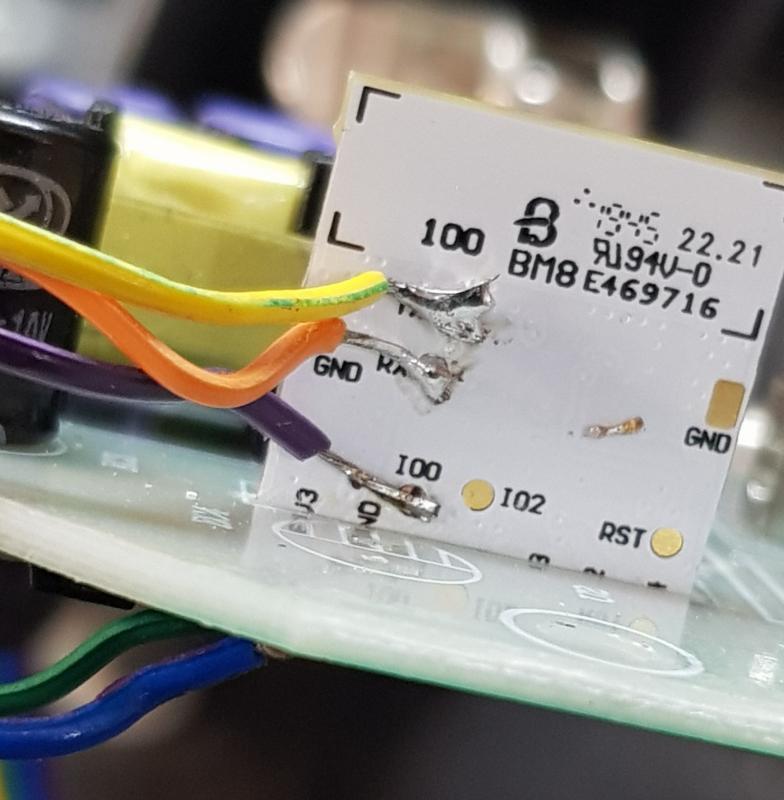
3.3V goes where EC4 was.
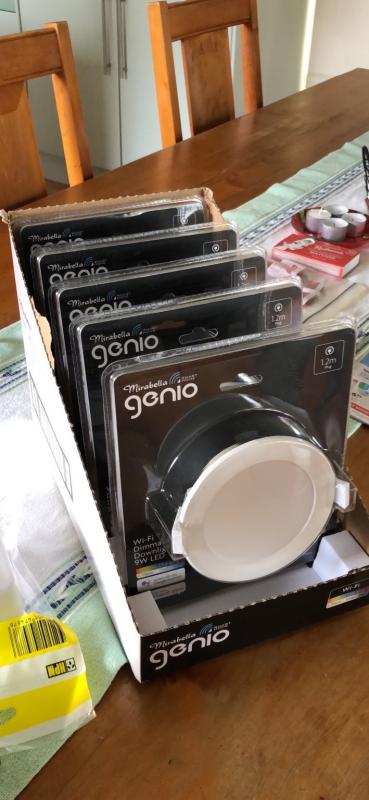
The Bunnings 2Pak.... BUT!!!

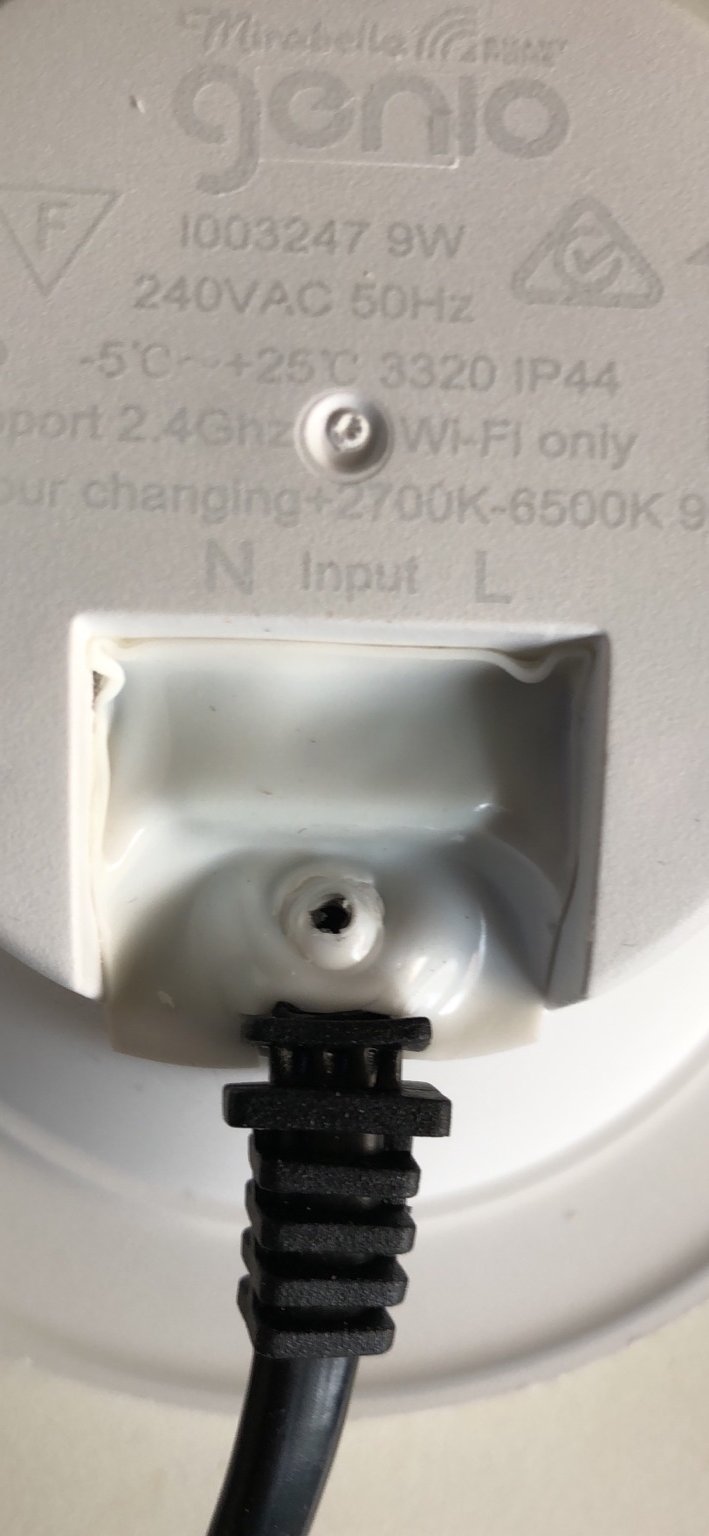
The units cannot have the top caps removed. The housing is now one piece and sealed from the elements more effectively. They do have a slightly different part number as well. These are the I003247 whereas the originals are I002741
They were returned. A quick trip to KMart and ....
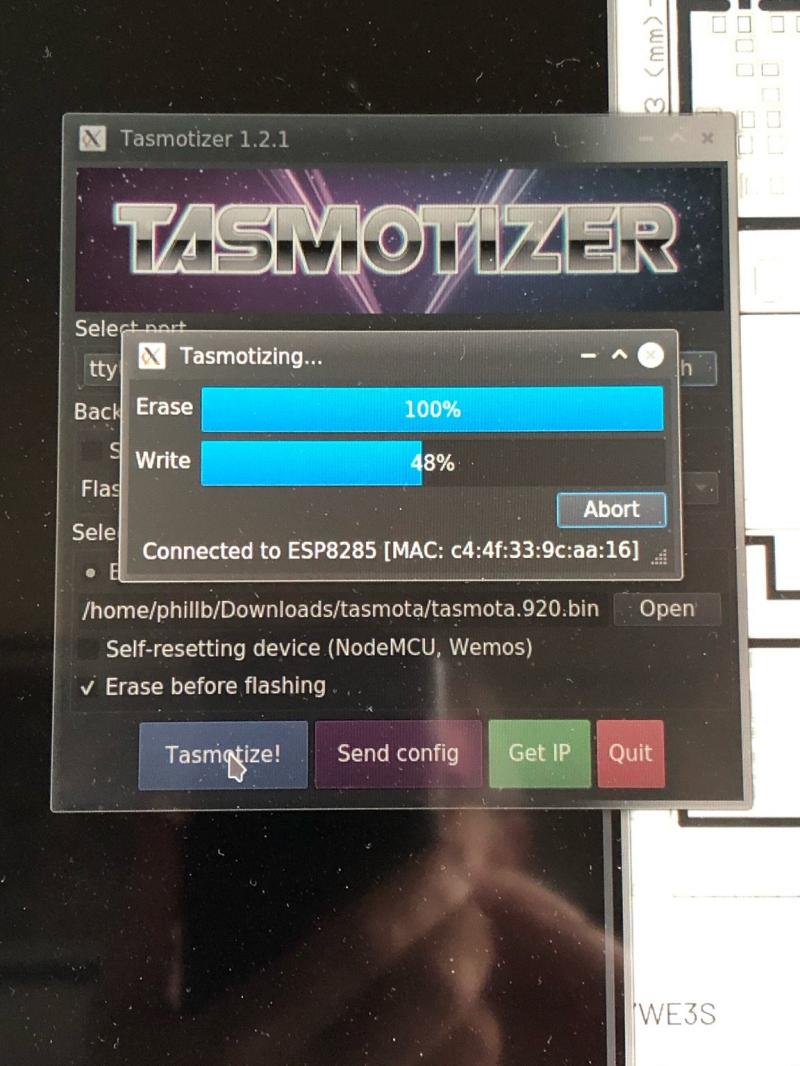
Tasmotizing
Production line
- In packaging
- Disassembled
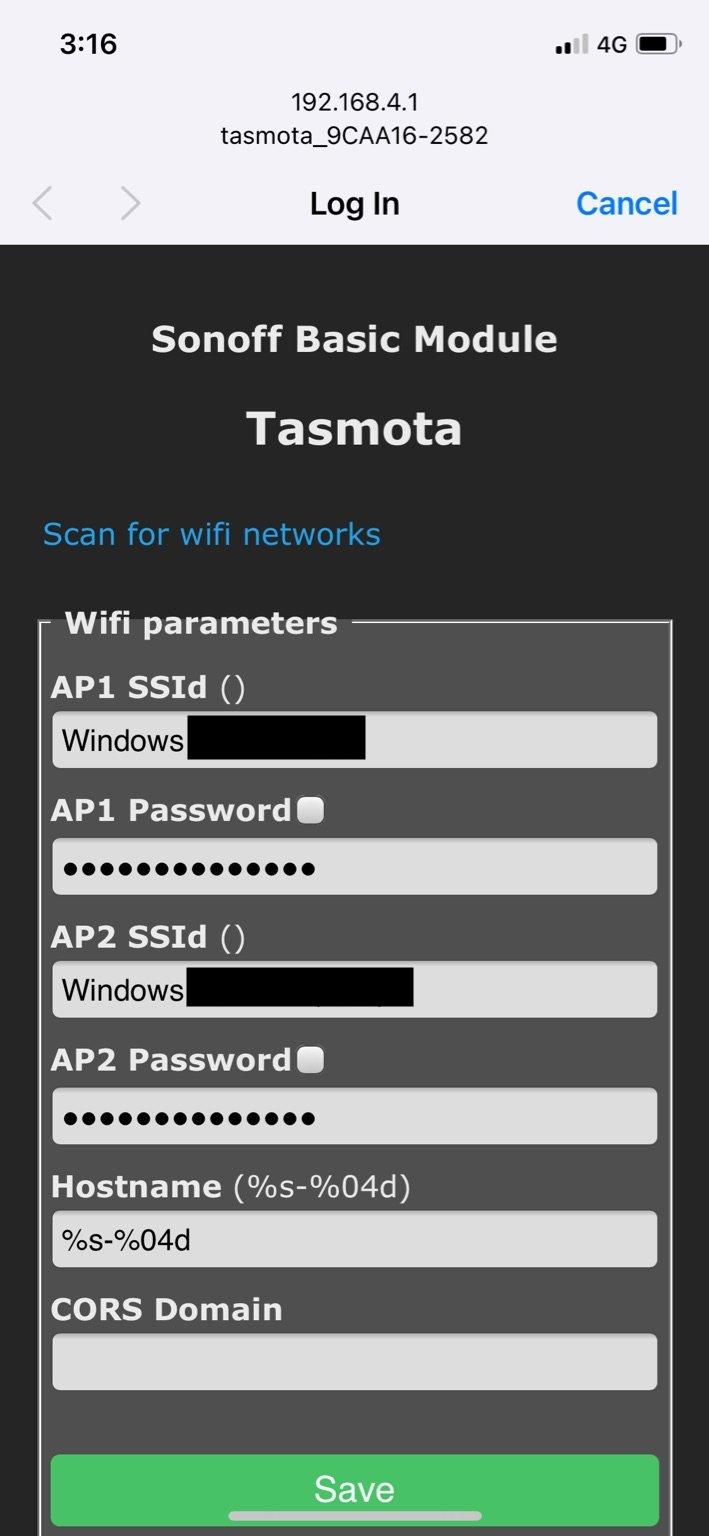
- Tasmotized - Attaches to WiFi
- Reassembled