Replacing PHEV halogen indicators with LEDs
Replacing the Mitsubishi PHEV indicator lamps with shiny new bright instant-on LEDs. The old bulb technology is a leftover from the pre LED era. In 2018 it was still cheap enough and possibly even reliable enough to continue with light bulbs. However, with the latest developments in after market lighting tech for cars, a new generation of balast-resistor-less ultra-bright accurate colour LEDs can simply replace old bulbs. Furthermore they can fool the car's Body Control Module (BCM) in to thinking the old glass shrouded filament is still there and healthy.
Front
(see below for Rear - WARNING different type bulb in 2018+ models)

The final result was a Total success!!! However, installation was a tad tricky and fiddley when installing the driver's side bulb. There is also a moderate amount of disassembly required to gain access. Some special tools are also needed. All up it took about an hour to complete installation if the front bulbs.
These replacement units are CAN-BUS and zero ballast resistor types. Essentially this means the BCM cannot tell the difference between the original bulbs and the high tech replacements. First generation of LED replacement LEDs had an issue with the amount of power they used, which was way less than a bulb. Because of the lower power the BCM would think the filament in the bulb had blown. So to alert the driver to the blown globe it would flash the remain bulbs at a faster than normal rate - hyper flashing.
A second issue with first generation LEDs was no CANBUS. This is a tiny computer embedded in the base of the bulb itself, mosly seen on Volkswagen and other Euro cars. The tiny computer communicates with the car's BCM letting it know how healthy it feels. Needless to say, replacing a smart bulb with a dumb one also causes the dreaded hyper-flashing.
These second generation units use a built in resistor controlled by an onboard microprocessor to gobble up power and waste it as heat. After a few minutes, however, they get too hot and are supposed to drop the resistive load - which may lead to hyper-flashing. The hope is the driver doesn't leave the indicators on for a long long time. After being off for a couple of minutes, things cool down again and the resistor is reactivated.
Anyway these bulbs emulate both kinds of old bulbs, so it is claimed they'll work in 98% of cases. And they certainly work with the PHEV.
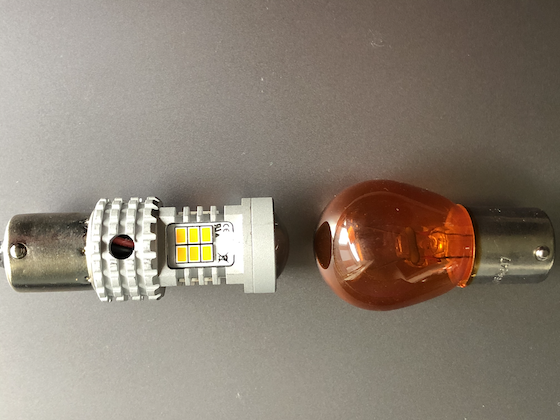
Slightly longer and narrower than the original halogen bulb. But waaaay brighter.
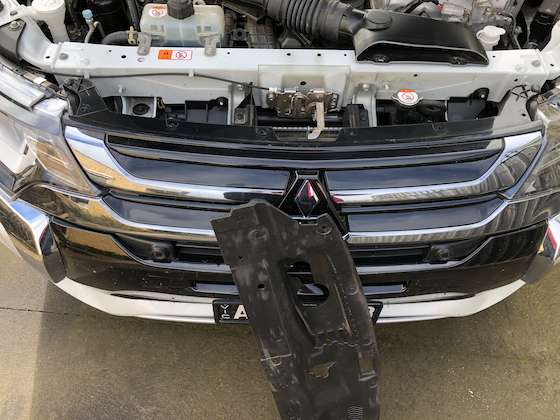
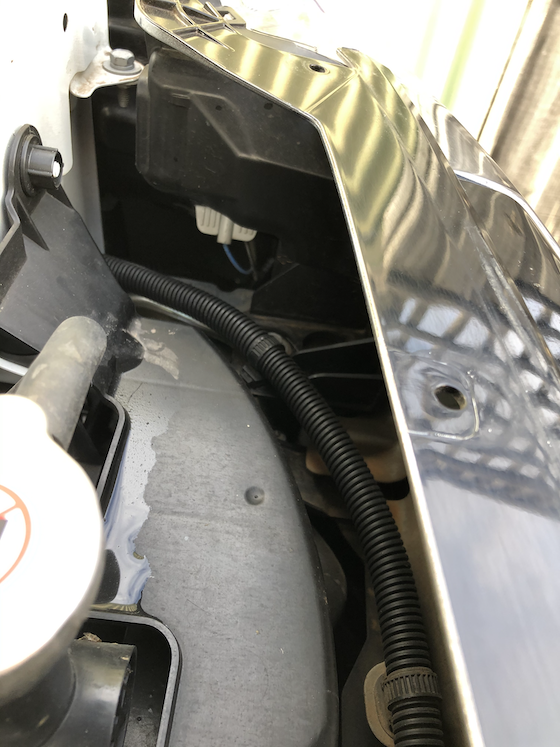
1) Remove the cover above the radiators to gain the reuired access. Use special tools *not* a screw driver to undo that trim clips.
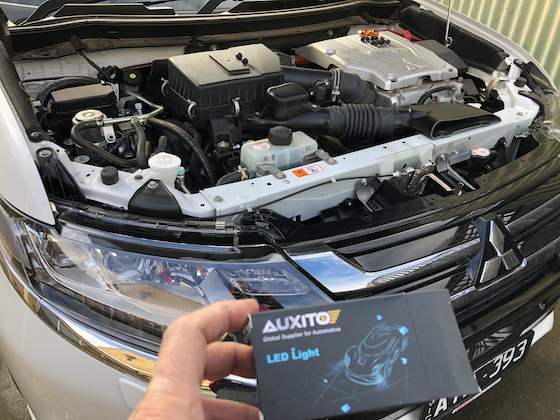
The LEDs from eBay. Cheap and cheerful, BUT, they work precisely as described.
Special trim tools. Absolutely buy a set of these.
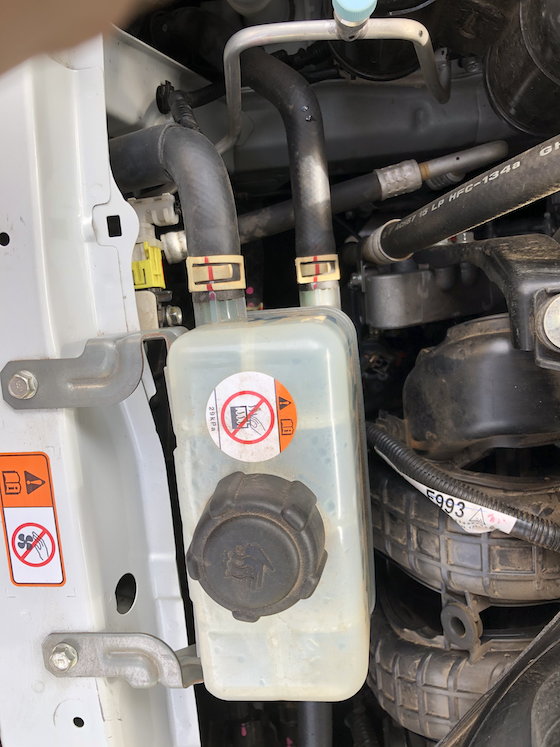
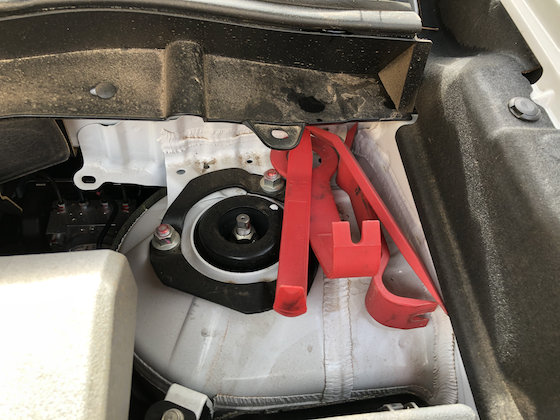
2) Undo the retaining bolts for the coolant reservoir and allow it to float about. Then undo, what I assume is, a crash sensor bolt and allow the sensor to float.
This provides room to get a second hand in to wiggle the bulb fitting.
3) Undo the passenger side bulb fitting and replace the obsolete halogen unit with the new beautiful powerful bright LED which will last for the lifetime of the vehicle and (I can't remember all the rest of the claims made, but there were a lot).
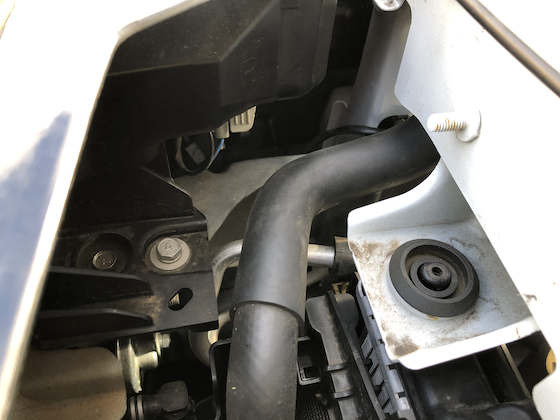
4) The driver's side is somewhat more fiddly. Essentially getting it out finally became possible once it is tilted towards the rear of the car.
Getting the LED unit back in could easily be the subject of an I.Q. test.
What I did was insert the bulb into the housing and then farted around trying to get the fitting to clip on to the bulb. There is insufficient room to manouver the whole assembly into place. Fortunately I managed to fluke it first time.
I'm sure there is plenty of scope for dumb things go wrong here. I was lucky.
I did, however, manage to drop one of the old bulbs. I heard it click and clunk finally coming to rest on hither to unseen splash guard fitted to the botton of the engine bay. i.e. Nothing falls to ground like the old cars. Luckily I have long skinny arms with multiple double jointed elbows so I could reach it. Don't drop stuff!

The old bulbs now replace with shiny new LED units.
REAR
Ofcourse I ordered 4 units.
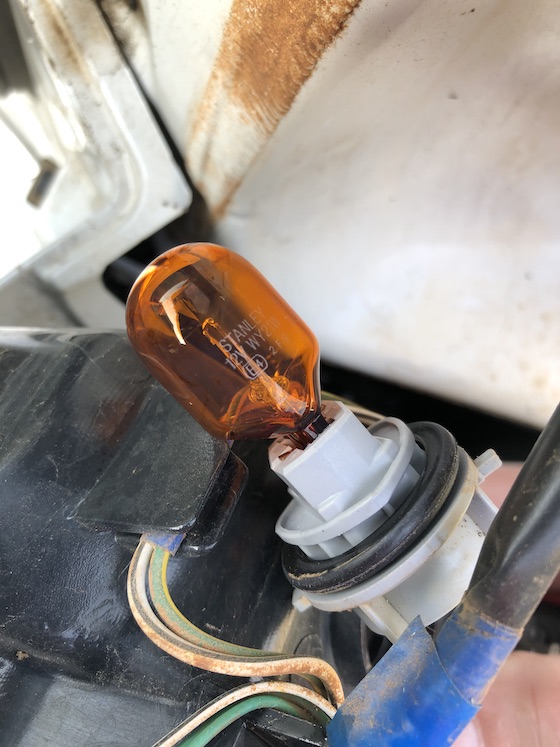
However, the rears are documented as being CANBUS WY21W fittings on the 2019+ versions of the car. The 2018 model, which I have, was meant to be a PY21W fitting used in 2017 and prior.
Anyway at that price I'm not fussed. I'll just order again on eBay.
WY21Y LEDS arrived
As noted last time, the rear indicators use different bulbs to the front (which worked flawlessly as a direct replacement). WY21W replacements were needed.
NP same supplier has a direct replacement with the same electronics..... However, after installing the dreaded hyper-flash reared its ugly head. Essentially the bulbs simply load the circuit with 21 watts of power drain until they become too hot. Then they just unload. The consequence is hyper-flashing after 10 seconds on the left and 35 odd seconds on the right. Not as documented.
So a quick email to the ebay provider elicited a response pointing out the fine print. "load resistors may be required".
NP I thought, I'll just do a Baggs (nickname of a close friend) and get a trailer connector and electrically load it up.
Well, I did that, but no effect. Closer examination of the circuit diagrams shows (on the very last page) that there is a section for the trailer. Believe it or not, that connector has it's own computer dedicated to running/managing the disastrous concoctions that people dream up in the name of trailer lighting.
So my beautiful tiny aluminium diecast box containing a bridge rectifier connected to both indicator lights and a single resistor with a common ground was beautiful but had zero effect.
Next day I thought, easy I'll "just" disconnect the trailer part and directly connect a single wire to the high side of the bulb circuits.
After having pretty much disassmbling the entire rear end of the car (even more that when peeking at the electronic drive) only to reveal a second layer of covers and even more devices on the wall cavities) I could see the connectors (D-06 and D-09). With the dexterity of a multi-reverse-jointed monkey I was finally able to slit the outer sheath, crimp an insulation displacement joiner on the the pink and the violet wires and run the two single wires from each side back to the resistor unit and finally plug the D-06 and D-09 connectors back in.
There is now a nicely bolted flanged IP66 rated 90x35x45mm diecast box next to all the other big drive boxes behind the rear seats.
$30 in bits and pieces and (what feels like) $1K in labour to stick it in. Pretty much the entire day taken. Hopefully the claimed 30,000 hour running-time will see the life of the care.