Compute Module 4 based cluster node
2021.12.14 ElectricBrain boots the first PiCluster node based on the CM4 module from the Raspberry Pi Foundation. What follows is a description of what it took to assemble the module into the correct format to fit in the PiCluster rack. Phone parts are used wherever possible.
Joining the Docker Swarm cluster brings the count to 14 nodes, 77 CPUs and 128+GB RAM (see pic below). This guy is destined to replace node 3 which is the last remaining B sized 32 bit Pi which has been reliably running the RabbitMQ MQTT server container for a few years now in 32 bit mode.
2021.12.20 3D Printing done for new desktop PiCluster to test new nodes
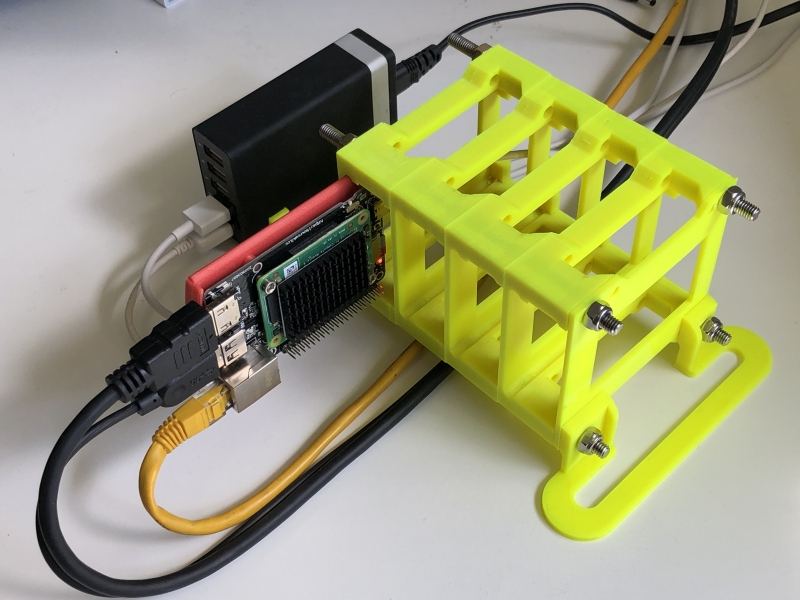 Desktop PiCluster for experimenting with new nodes
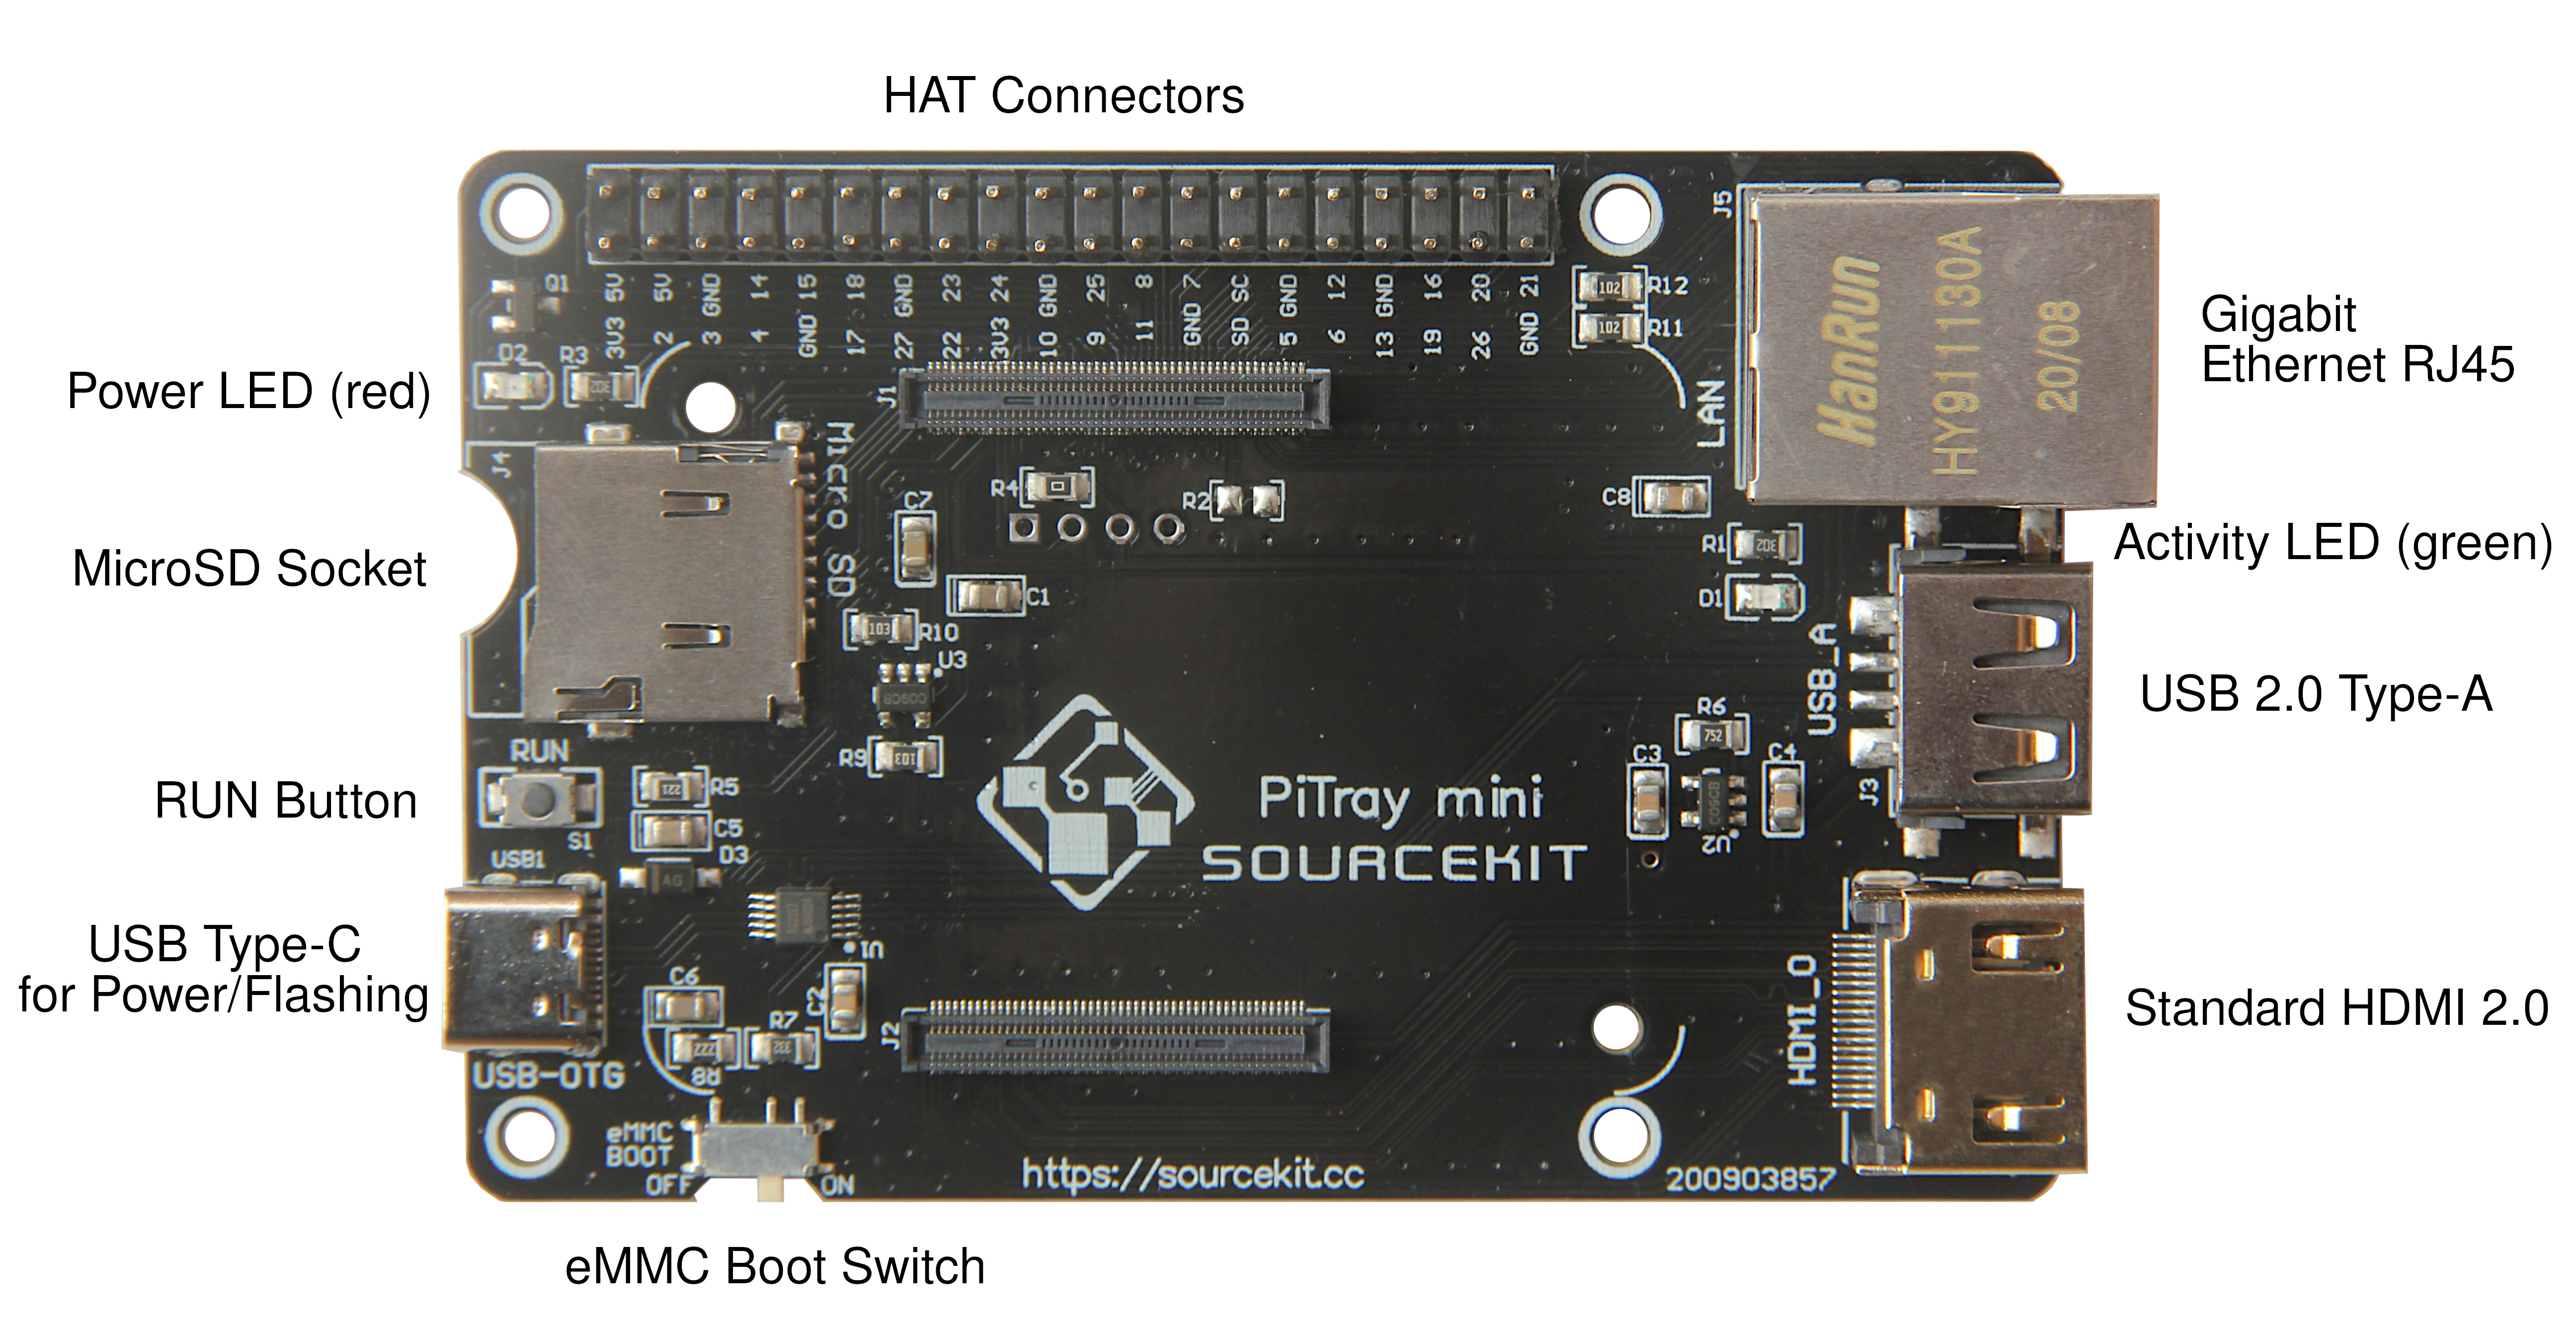
Essentially a print of the latest revision of the desktop PiCluster plastics. This one sits on, errr well, the desk. It's all powered by an ATEN 5 port USB charger (USB-C end plugged in to the rear of the carrier board), with the monitor plugged in the the HDMI port and the keyboard in the USB.
2021.12.15 Beefed up heatsink required!
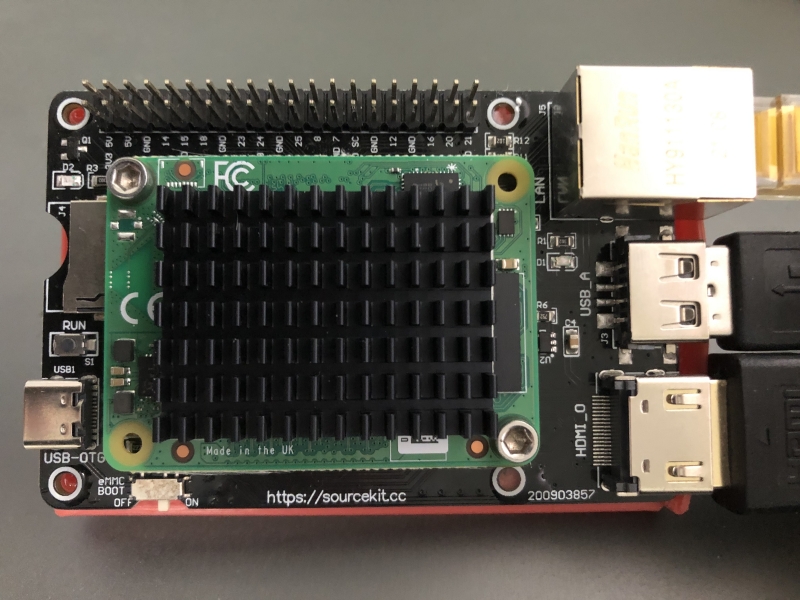 Bigger heatsink replaces smaller unit
The first heatsink was just too small. The ElectricBrain PiCluster runs fanless at full speed, so cooling is pretty important to maintain performance. The Raspberry Pi Foundation documentation says that while the CM4 takes less power than the equivalent B sized boards, they tend to run hotter. This is essentially because there is less metal in the board to spread the heat. This leads to a situation where the standard heatsink doesn't cut it for the CM4. Sure enough the temperatures shown by Ubuntu's landscape-sysinfo show a 5 to 10 degree drop.
 The choice of heatsink was influenced by the orientation of the fins. The units available on eBay all have the fins running longitudinally along the length of the CM4, which to my mind is the wrong way. The chimney effect is optimised by having the fins vertical. This is borne out in various thermal
modelling scenarios. This is also the orientation chosen by the
AAEON UP Intel Quad B sized board.
The choice of heatsink was influenced by the orientation of the fins. The units available on eBay all have the fins running longitudinally along the length of the CM4, which to my mind is the wrong way. The chimney effect is optimised by having the fins vertical. This is borne out in various thermal
modelling scenarios. This is also the orientation chosen by the
AAEON UP Intel Quad B sized board.
This is really first year engineering stuff. Back in the day we were all trotted off to the mechanical engineering department for hours of, what seemed then like, boring old thermodymanics classes. It's pretty clear that today's designers really have no idea about basic thermal principles /grumble.
Looking at the official Raspberry Pi Foundation literature on the subject ( found here:
https://www.raspberrypi.com/documentation/computers/raspberry-pi.html#frequency-management-and-thermal-control ) a couple of things become apparent.
- The CM4, Pi400 and 4B have more advanced active thermal throttling controls (DVFS).
- Confirmation of orientation in the vertical plane of the whole board and heatsinks.
- CM4 thermal management cannot make use of PCB technology in 3B+ and 4B to spread the heat load.
- Ubuntu needs additional software (which is available as a simple install from the repo) to talk directly to the SoC which avoids inaccuracies introduced by the generic Ubuntu tools (see below).
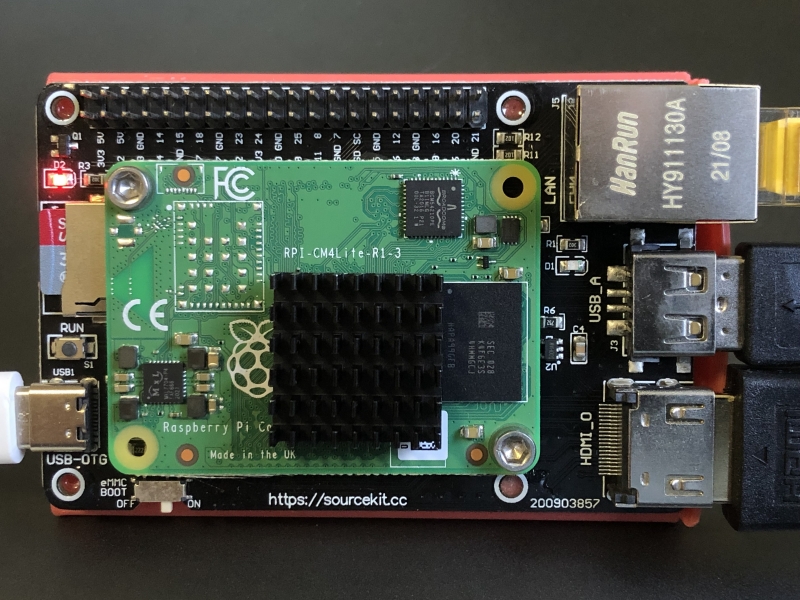 Heatsink too small
2021.12.14 Ubuntu server 20.04 LTS
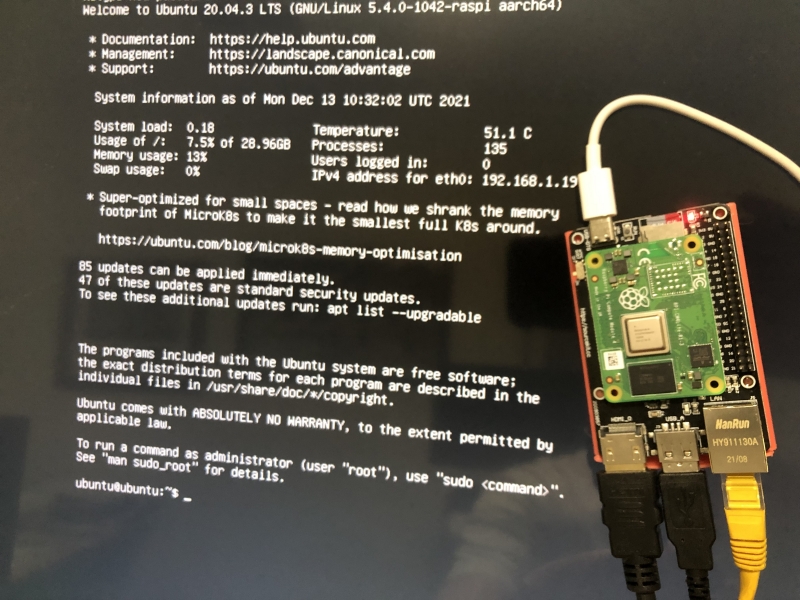 Ubuntu 20.04 LTS server boots for the first time
First things first. Before booting for the first time and then calling support, you'll need to change the config.txt file to enable the USB connector to get the keyboard running. Pop the microSD out and take it to a computer and add these two lines to config.txt in the first partition.
dtoverlay=dwc2
dr_mode=host
Update for 22.04
# Enable USB port on carrier board

#

dtoverlay=dwc2

#dr_mode=host

otg_mode=1
then save then exit. When safe to do so remove the microSD and reinsert into the carrier board. Reboot and you're good to go.
Next Raspberry Pi Foundation recommends all Ubuntu users should download some essential software which allows for communicating directly with the SoC (System on a Chip). The reason is that "upstream" software introduces some inaccuracies in various measurements. Installation is super simple:
sudo apt-get install libraspberrypi-binsudo apt-get install cpufrequtils
Once libraspberrypi-bin is installed the vcgencmd program becomes available. vcgencmd provides access to the various hardware clocks and temperatures measure inside the SoC. The master reference for all the various subcommands is on the Raspberry Pi Foundations documentation site https://www.raspberrypi.com/documentation/computers/os.html#vcgencmd
To get a summary of all the options and commands:
vcgencmd commands
which produces:
root@host3a:~# vcgencmd commands
commands="vcos, ap_output_control, ap_output_post_processing, vchi_test_init, vchi_test_exit, vctest_memmap, vctest_start, vctest_stop, vctest_set, vctest_get, pm_set_policy, pm_get_status, pm_show_stats, pm_start_logging, pm_
stop_logging, version, commands, set_vll_dir, set_backlight, set_logging, get_lcd_info, arbiter, cache_flush, otp_dump, test_result, codec_enabled, get_camera, get_mem, measure_clock, measure_volts, enable_clock, scaling_kerne
l, scaling_sharpness, get_hvs_asserts, get_throttled, measure_temp, get_config, hdmi_ntsc_freqs, hdmi_adjust_clock, hdmi_status_show, hvs_update_fields, pwm_speedup, force_audio, hdmi_stream_channels, hdmi_channel_map, display
_power, read_ring_osc, memtest, dispmanx_list, get_rsts, schmoo, render_bar, disk_notify, inuse_notify, sus_suspend, sus_status, sus_is_enabled, sus_stop_test_thread, egl_platform_switch, mem_validate, mem_oom, mem_reloc_stats
, hdmi_cvt, hdmi_timings, readmr, pmicrd, pmicwr, bootloader_version, bootloader_config, file"
Obviously vcgencmd provides lots of information which is rather technical in nature (and so not necessarily of great interest to non-geeks). In amongst all this are the frequency, voltage and temperature measurements which may reveal issues with cooling and hence DVFS issues (Dynamic Voltage and Frequency Scaling - otherwise known as throttling).
root@host3a:~# vcgencmd measure_temp && vcgencmd measure_volts core && vcgencmd measure_clock arm
temp=44.8'C
volt=0.8700V
frequency(48)=1200287104
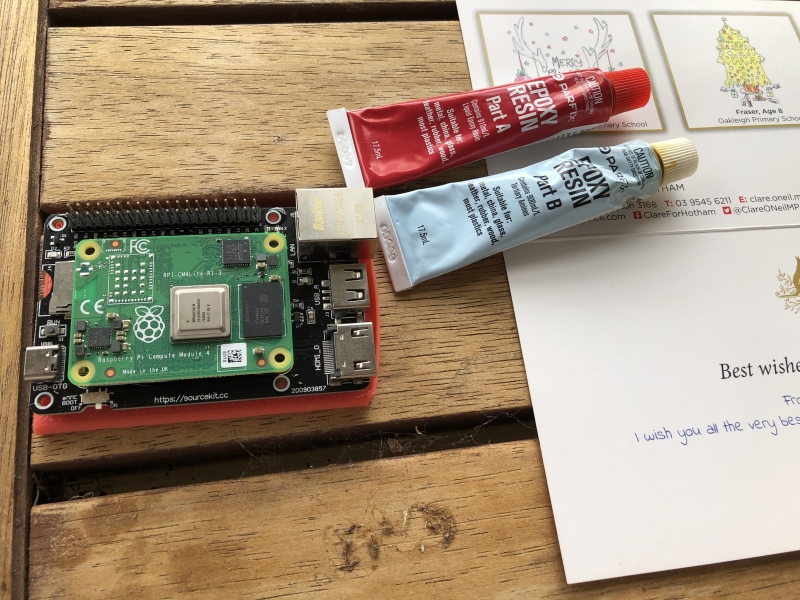
2021.12.13 The basic concept
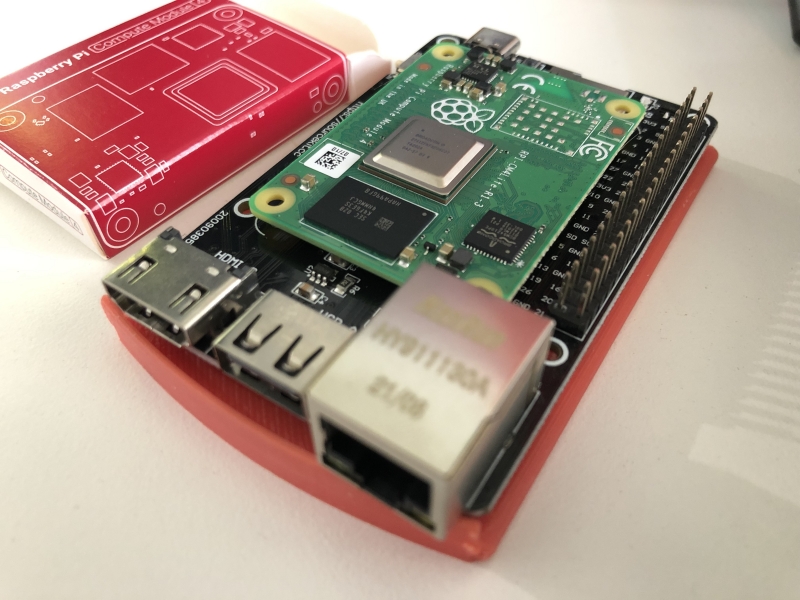 Components sitting together confirming feasibility
Be careful when ordering to verify the official Pi Foundation part number. Lots of suppliers have incorrect photos resulting in wrong orders.
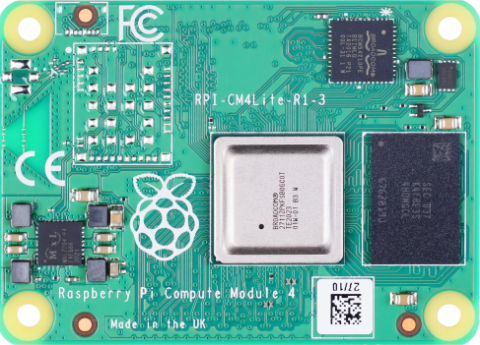 CM400X000: CM40 = No Wifi, X = 1, 2, 4, 8 GB ram, 000 = No eMMC
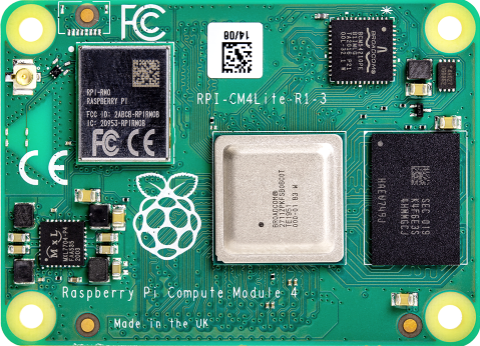 CM410X000: CM41 = WiFi, X = 1, 2, 4, 8 GB, 000 = No eMMC
 CM410X032: CM41 = WiFi, X = 1, 2, 4, 8 GB, 032 = 32GB eMMC
WARNING: DO NOT INSERT/REMOVE CM4 ON AN ANGLE!
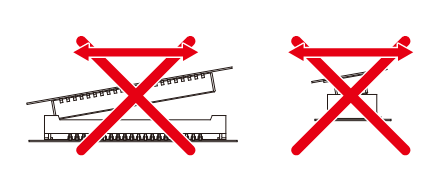
Do not insert the CM4 on and angle. Connector damage will result.
Please see the connector specification sheet for details of the sorts of damage. Ensure the CM4 module is flat and well located before pushing it down. Do not use excessive force.
https://au.mouser.com/datasheet/2/185/ed_DF40_20200205-2301840.pdf
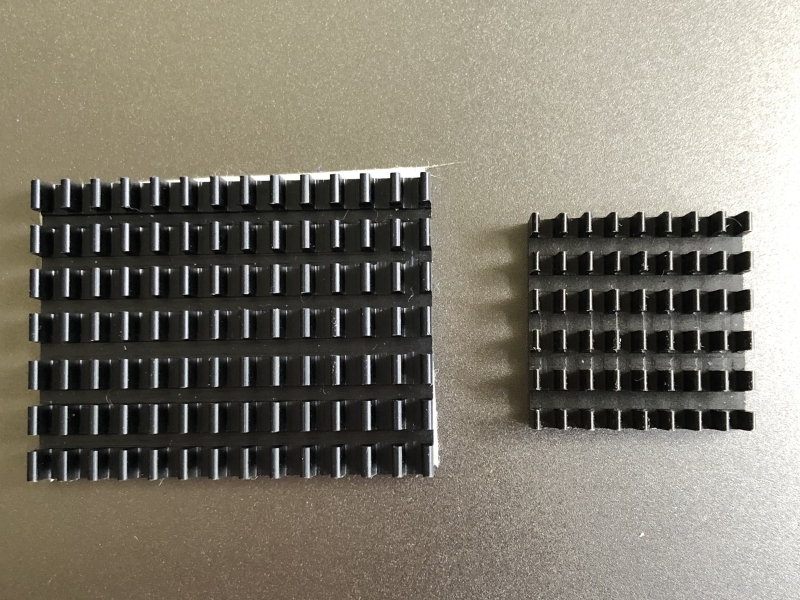 Heatsinks - 40 x 30 x 5mm and 21 x 21 x 5mm - Larger one recommended
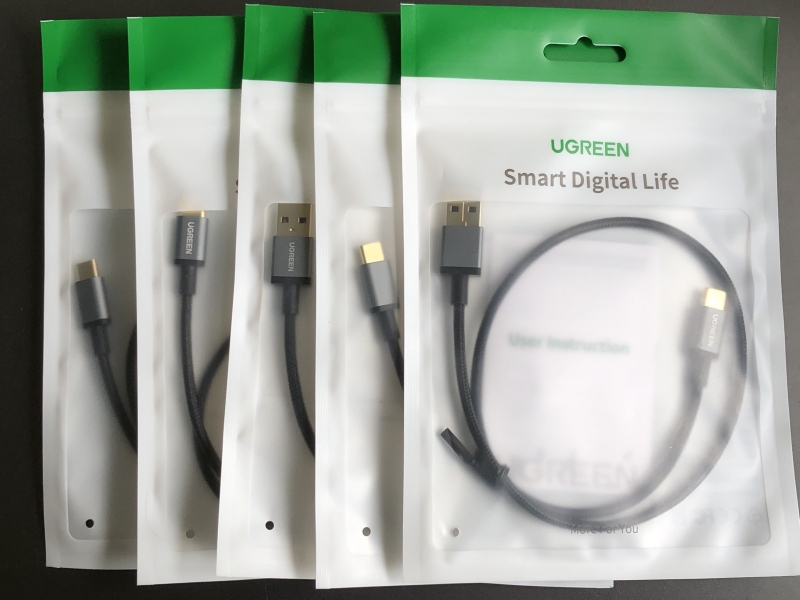 300mm USB-A to USB-C cables - thick power conductors and short length are the key.
2021.12.13 No screws used to hold the CM4 carrier to the PiCluster caddy
 No screws to hold the carrier board on the PiCluster sled
2021.12.13 What The! M2.5 holes! Forget that man...
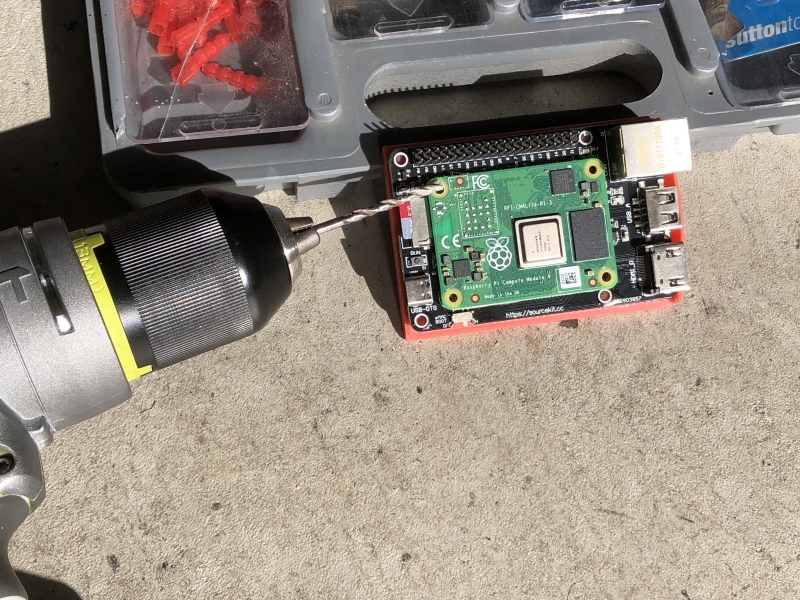 WT? M2.5 when I have a shed full of M3 stuff. Pull out the hammer drill and make room! Fixed!
New node joins the cluster
 Happy new node buzzing away with its friends