SDCard howto

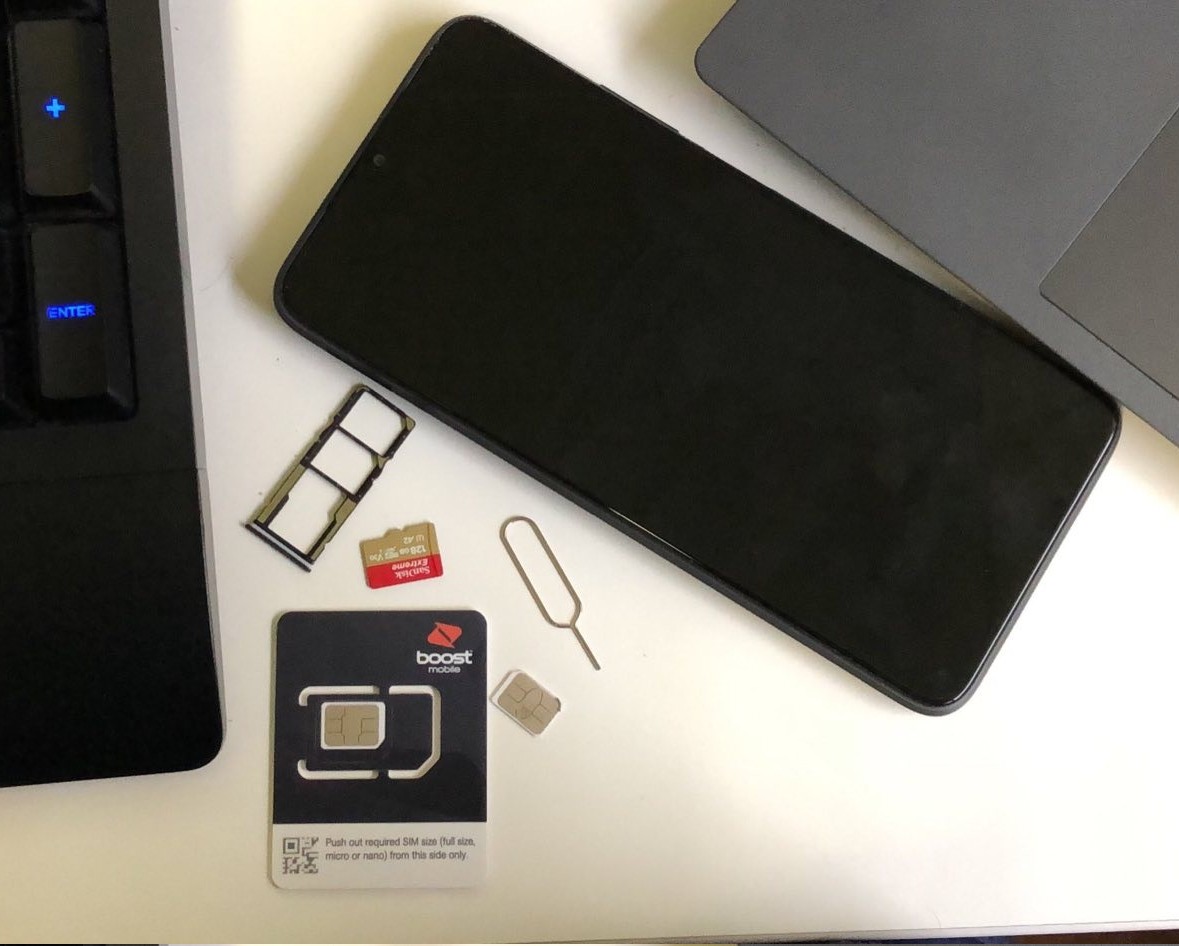
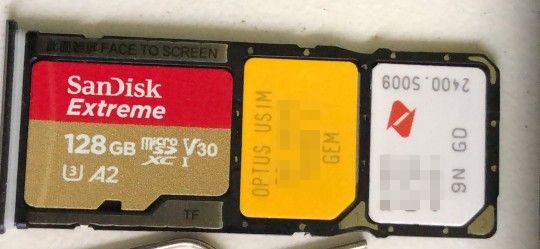
This short page explains how to get your SDCard accessible on the Xiaomi Poco M3.
To start off with the main reference is: https://www.kernel.org/doc/html/latest/driver-api/mmc/index.html
The Multi Media Card - Secure Digital Card - Secure Digital Input Output kernel subsystem (MMC/SDCard/SDIO) has been in place for a long time. The first kernel version that mentions MMC code is 2.6.36. It is very likely your phone has it and the Xiaomi Poco M3 kernel does.
It must be said at the outset that the SDCard used here is formatted as ext4. The FAT system devised in the 1970's for floppy disks as used by IBM's original PC is simply no longer viable for any modern computing device (even a Raspberry Pi Zero). Windows users can obtain literally 10's if not hundreds of different programs that can format SDCards as an ext4 filesystem.
The essential manual commands to get the sdcard mounted are:
- create a mount point which should be anywhere under the phablet home directory
mkdir ~/Downloads/sdcard - Check the partition from the sdcard needed. Look at what partitions the mmc subsystem detected:
phablet@ubuntu-phablet:~$ ll /dev/mmc*

brw-rw---- 1 root disk 179, 0 Apr  5  1970 /dev/mmcblk0

brw-rw---- 1 root disk 179, 1 Apr  5  1970 /dev/mmcblk0p1

phablet@ubuntu-phablet:~$ - Mount the sdcard formatted as ext4.
Options:- init_itable=0
Ext4 fs initializes it's inodes with lazyinit which can cause the sdcard to "chirp" away for hours in the background initializing the inodes. This is a hangover from the days of spinning disks. The no lazy init option should be used as a mount option (init_itable=0). The entire inode table will be initialized, for a fresh card, upon mounting, so there will be a delay while this happens. This never used to be a problem with the older SDCards because they were so small, but now with 1T cards it is an issue. Kernel source with details - noatime
ext4 and Linix file systems in general are able to track file access times as well as directory access times. On an SDCard this will cause unnecessary read/modify/write cycles on directory blocks on the card. Unless there is a requirement to track access times it is recommended to turn this feature off. It may well be the default to have it off anyway. Nevertheless explicitly turning it off won't hurt. - uid and gid
Note: ext4 must not have these options set! These only make sense for FAT filesystems.
Set the userid and groupid of the owner of the filesystem. Ubuntu Touch needs the SDCard's directories to be owned by a specific uid and gid number.
sudo mount \

/dev/mmcblk0p1 \

~/Downloads/sdcard \

-o init_itable=0,noatime,uid=32011,gid=32011- chown 32011:32011 ~/Downloads/sdcard
- init_itable=0

Autostarting the mount
This section discusses how to use the autostart mechanism to automatically mount the SDCard.
The reference is:
https://askubuntu.com/questions/613557/how-to-autostart-a-shell-script-on-ubuntu-touch/622484
and
https://itectec.com/ubuntu/ubuntu-auto-mount-sd-card-formatted-as-ext4-on-ubuntu-touch/
The reason for choosing this approach instead of the fstab Linux way is that it is not clear (to the author) if the hybrid halium 10 way uses the somewhat convoluted Android method with several different files and stages or not. Some of the files are even auto-generated making modification out of the question.
There are two parts to making this work. The first part creates a shell script which does the work. The second part calls the script as the phone boots up.
The first step in the process is of creating a script which executes the needed mount command:
Create a directory to put the script in such as:
mkdir ~/bin
then create a file which holds the shell script program and call it mount-sdcard.sh
cd ~/bin

vi mount-sdcard.sh
then put the following in it and save/close
#

# Wait for sdcard to come online, then mount it.

#

/bin/sleep 20

sudo /bin/mount \

  /dev/mmcblk0p1 \

  ~/Downloads/sdcard \

  -o init_itable=0,noatime

sudo /bin/chown \

  phablet:phablet \

  ~/Downloads/sdcard
The final step for the script file is to make it executable.
sudo chmod ug+x ./mount-sdcard.sh
At this point it is possible to run the script and mount the sdcard. First ensure the mount point exists then umount the card, just in case it was manually mounted and then run the script:
mkdir ~/Downloads/sdcard

sudo umount ~/Downloads/sdcard

~/bin/mount-sdcard.sh
If all is well the SDCard will now be visible in the file manager under the Downloads folder named sdcard. That concludes the first part.
The next part is to get the operating system to magically run the script when it boots up.
The crucial file here is the autostart file required up by upstart.
vi ~/.config/upstart/mount-sdcard.conf
Then place the follow in the .conf file:
description "Automount SDCard"

start on started unity8

exec /home/phablet/bin/mount-sdcard.sh
Then close and save the file.
One other file is required to grant authorization to execute two programs using sudo to escalate privileges without entering the password (since there is no human available at boot time - i.e. the keyboard isn't working yet).
Next ran in to this problem "Read Only file system"
Overcoming the "Read Only file system" issue requires a remount-hack-remount cycle. This involves making use of a mechanism that allows for mounting the root partition in read/write mode as the phone reboots. This is accomplished as follows:
sudo touch /userdata/.writable_image
sudo shutdown -r now
After the phone comes back from its reboot the root partition is now writable. Be careful as the system is in a state that can easily be damaged (probably not bricked though) until it is relocked.
sudo visudo -f /etc/sudoers.d/sdcard
Then enter the following text
#

# SDCard Auto-Mount sudo authority for user phablet

#

User_Alias  SDMOUNT_USR   = phablet

Runas_Alias SDMOUNT_RUNAS = #0

Cmnd_Alias  SDMOUNT_CMDS  = /bin/mount, /bin/chown

SDMOUNT_USR ALL=(SDMOUNT_RUNAS) NOPASSWD: SDMOUNT_CMDS
Then save and close the file. Please visit again as the SDMOUNT_CMDS will be tightened for security purposes. For now everything is working.
Finally remove the .writeable_image file and reboot to relock.
sudo rm /userdata/.writable_image

sudo shutdown -r now
At this point the SDCard's contents should appear in the file manager.
Finally everything is working!